Giant Wet Plate Camera II

Well after a long time of dreaming, thought, planning, and dedication, I've finally got the Giant Wet Plate built and ready for use.   It's been a lot of fun trying to make this project work out.  It all started when I got the first piece of the project...the 6.3 20in. Air Ministry Aerial lens and thought of the possibilities it created. HUGE thanks to Larry Baglio for helping me through the build and working out the details with me.  It took us about an hour and a half to get it built the first time, but now that we've done it once, It might only take 15 minutes to set it up again.

See the beginnings of the idea here:  http://jamesweberstudio.com/blog/?p=1665

I knew the lens had  a huge light spread, so then it was just finding the enclosure that would work the best and go from there.

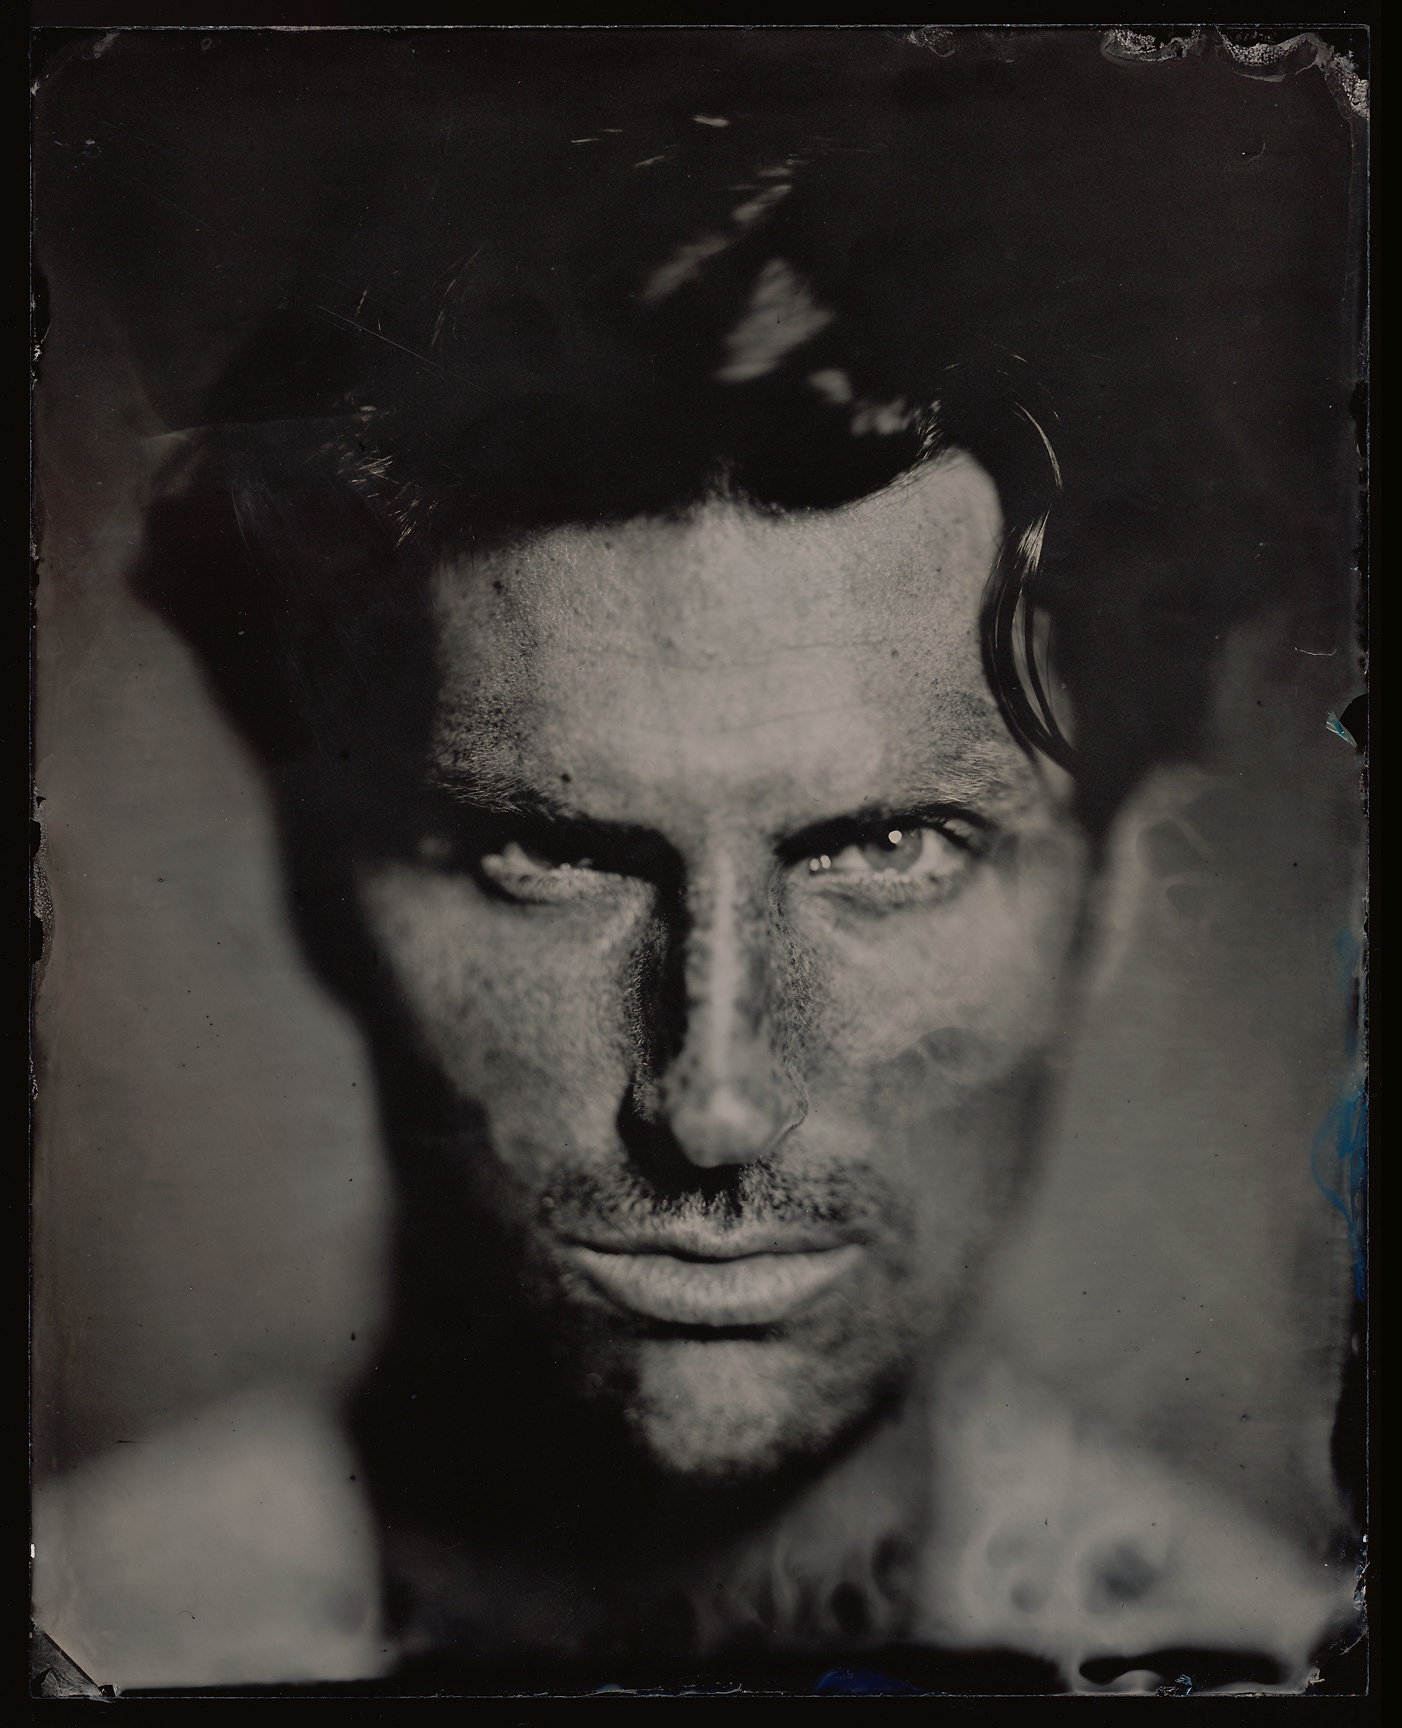
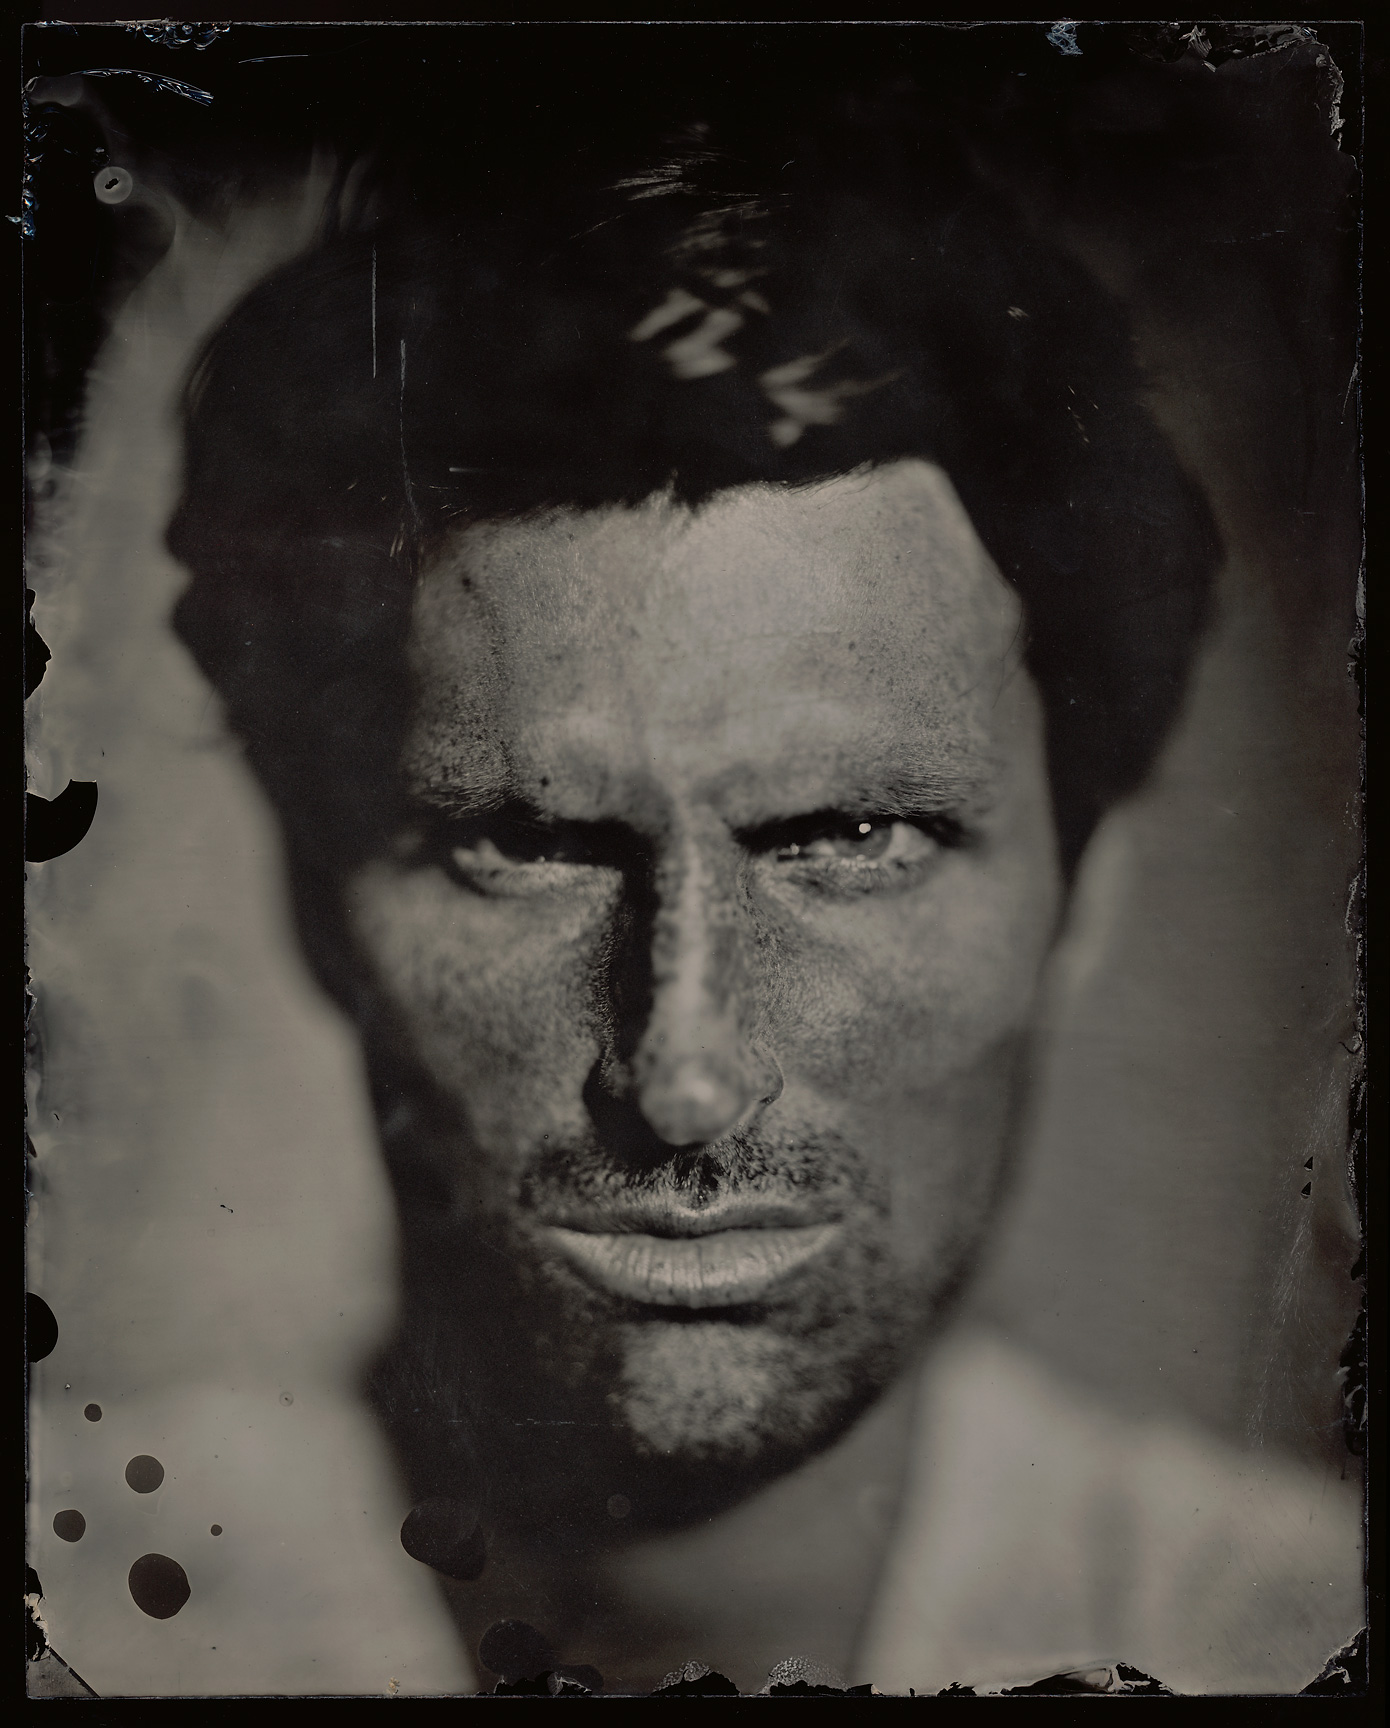
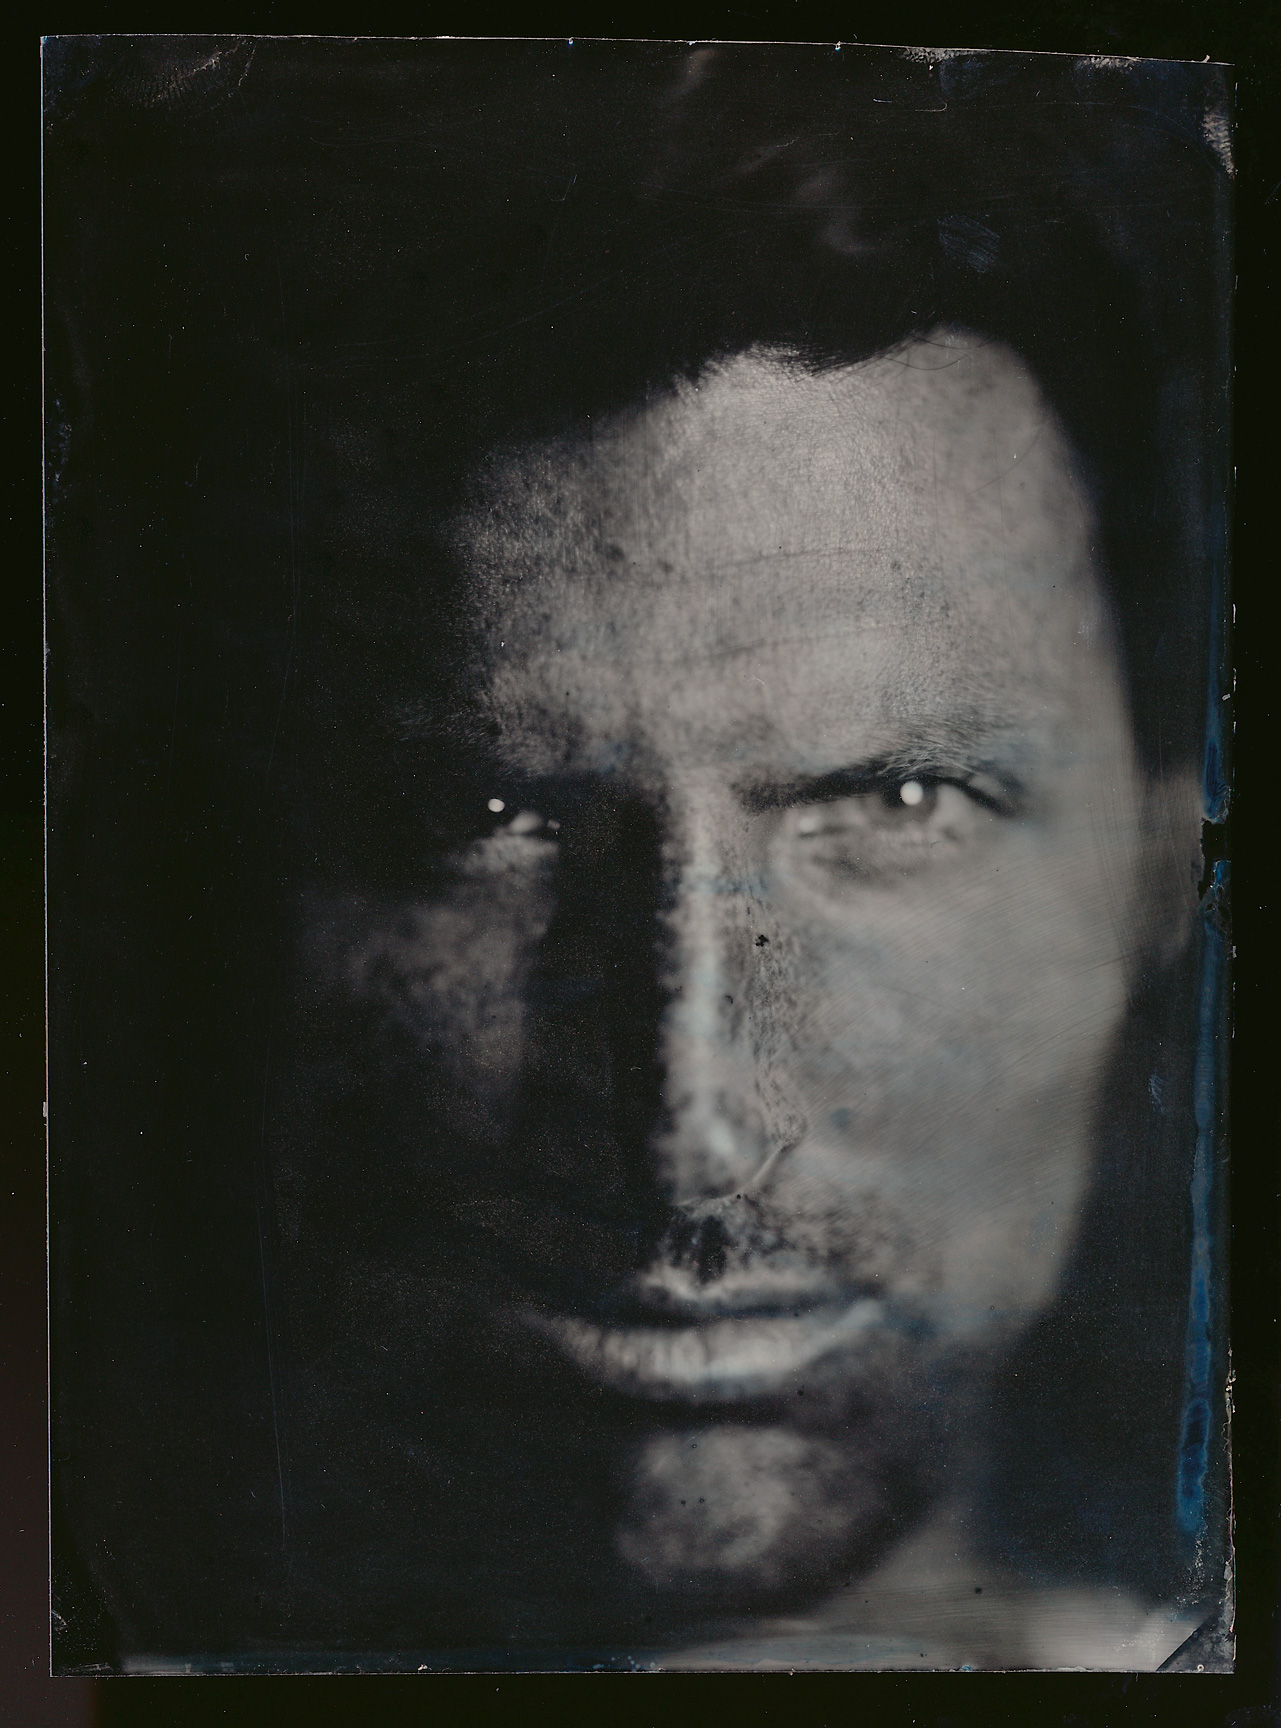
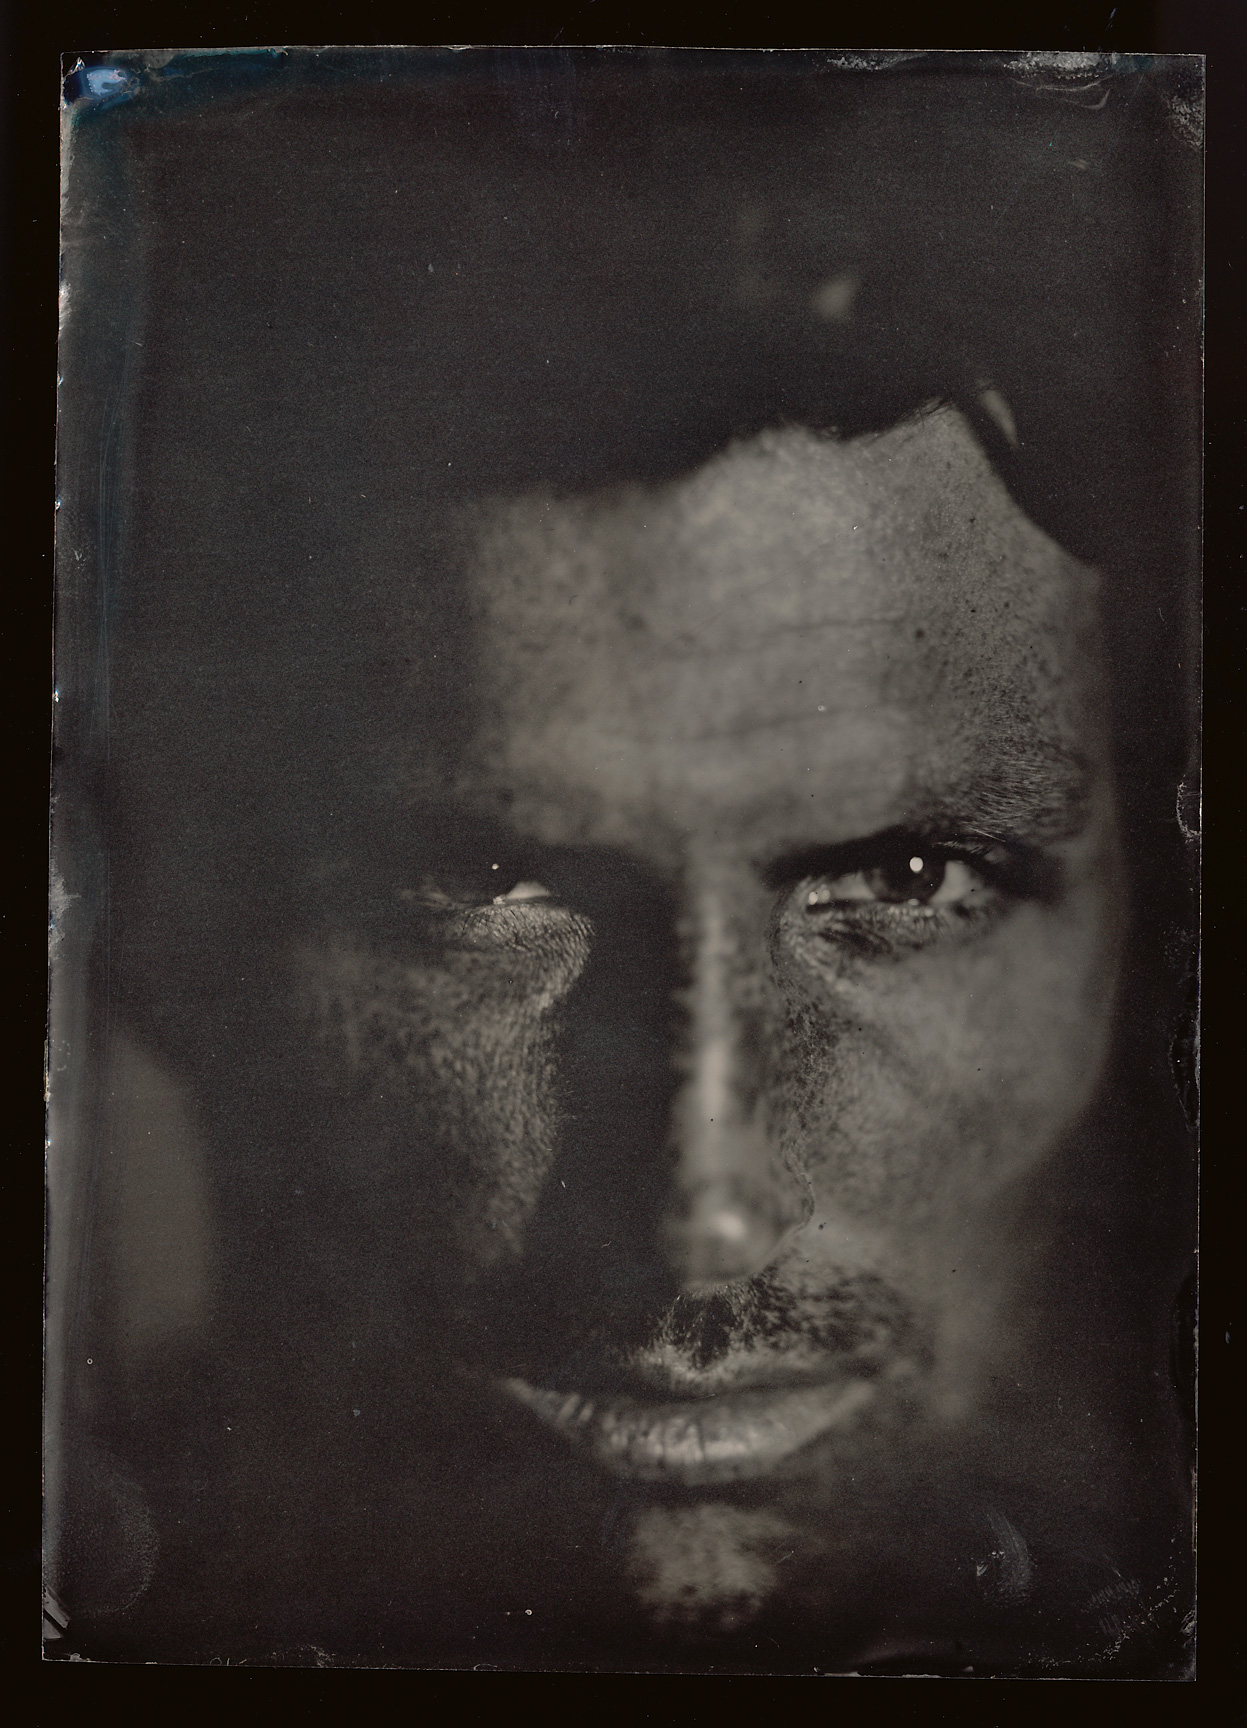
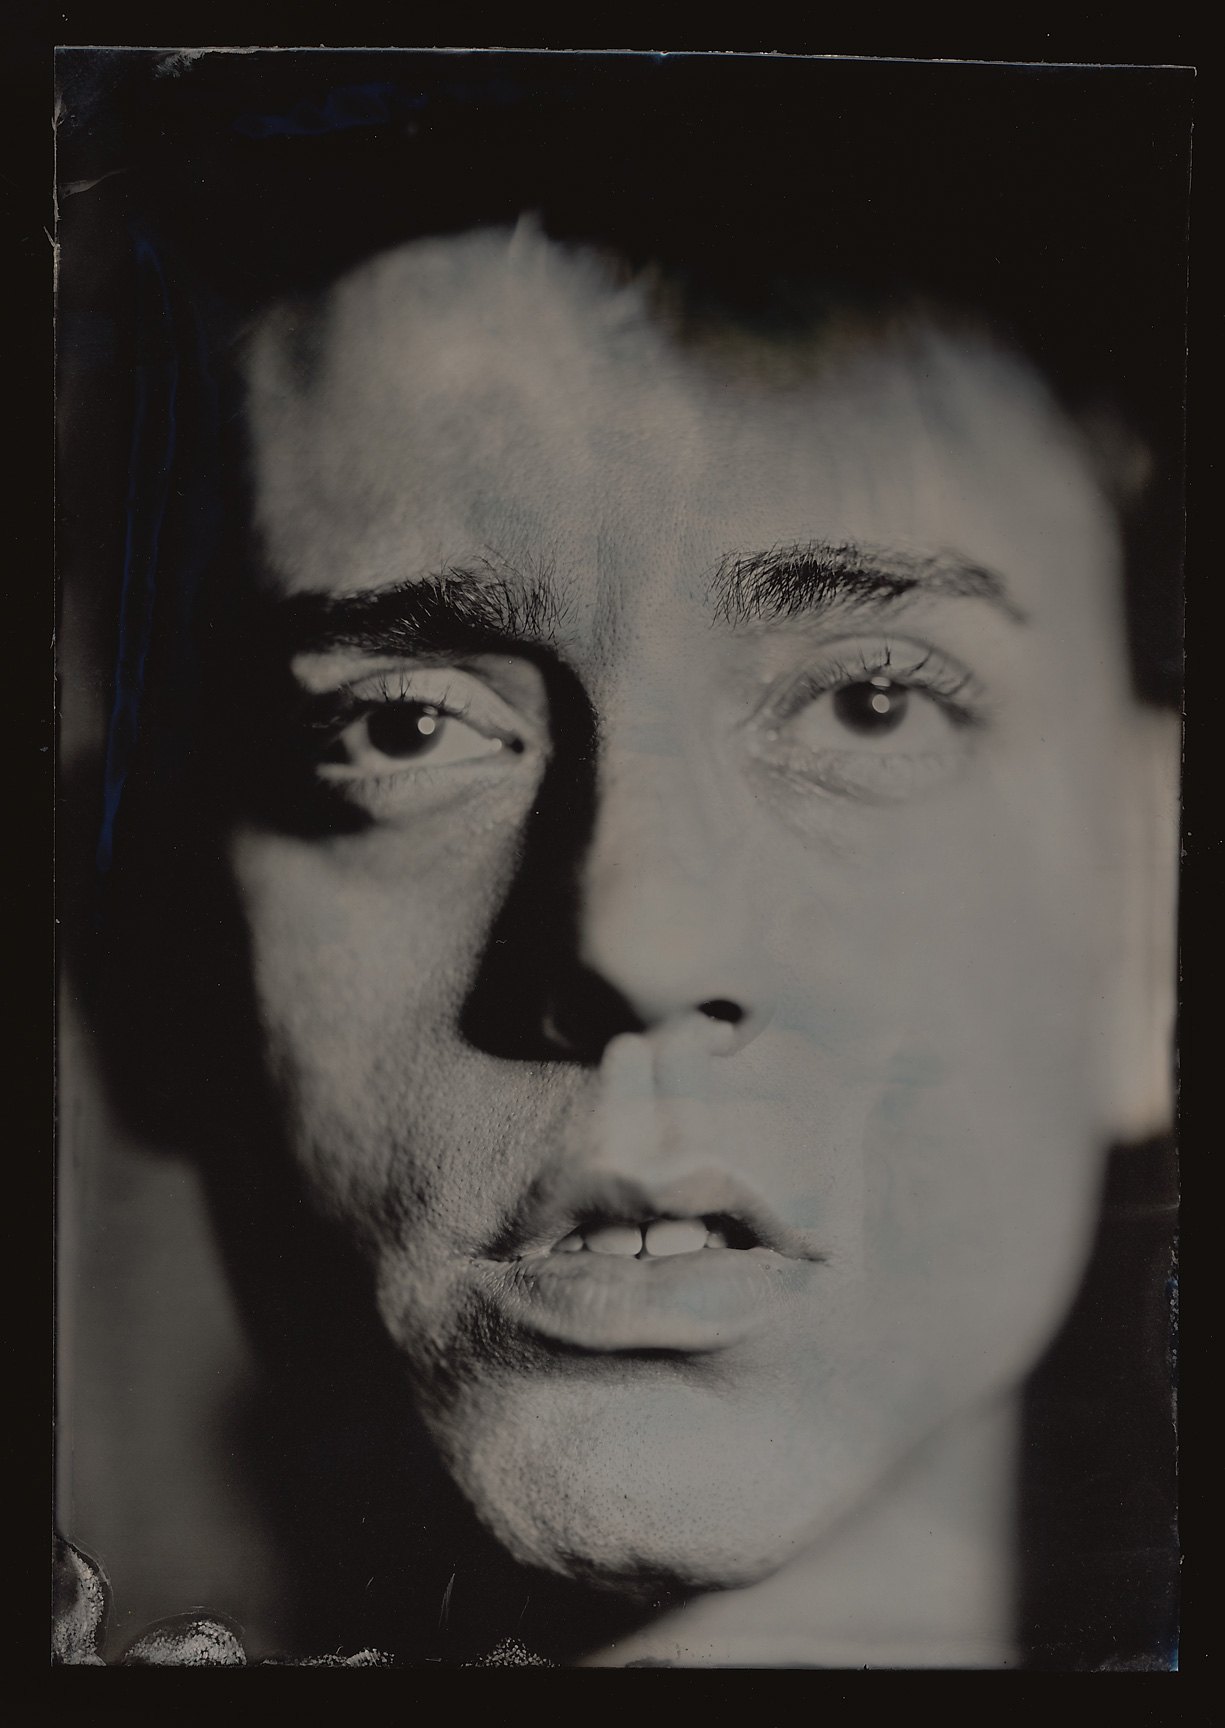
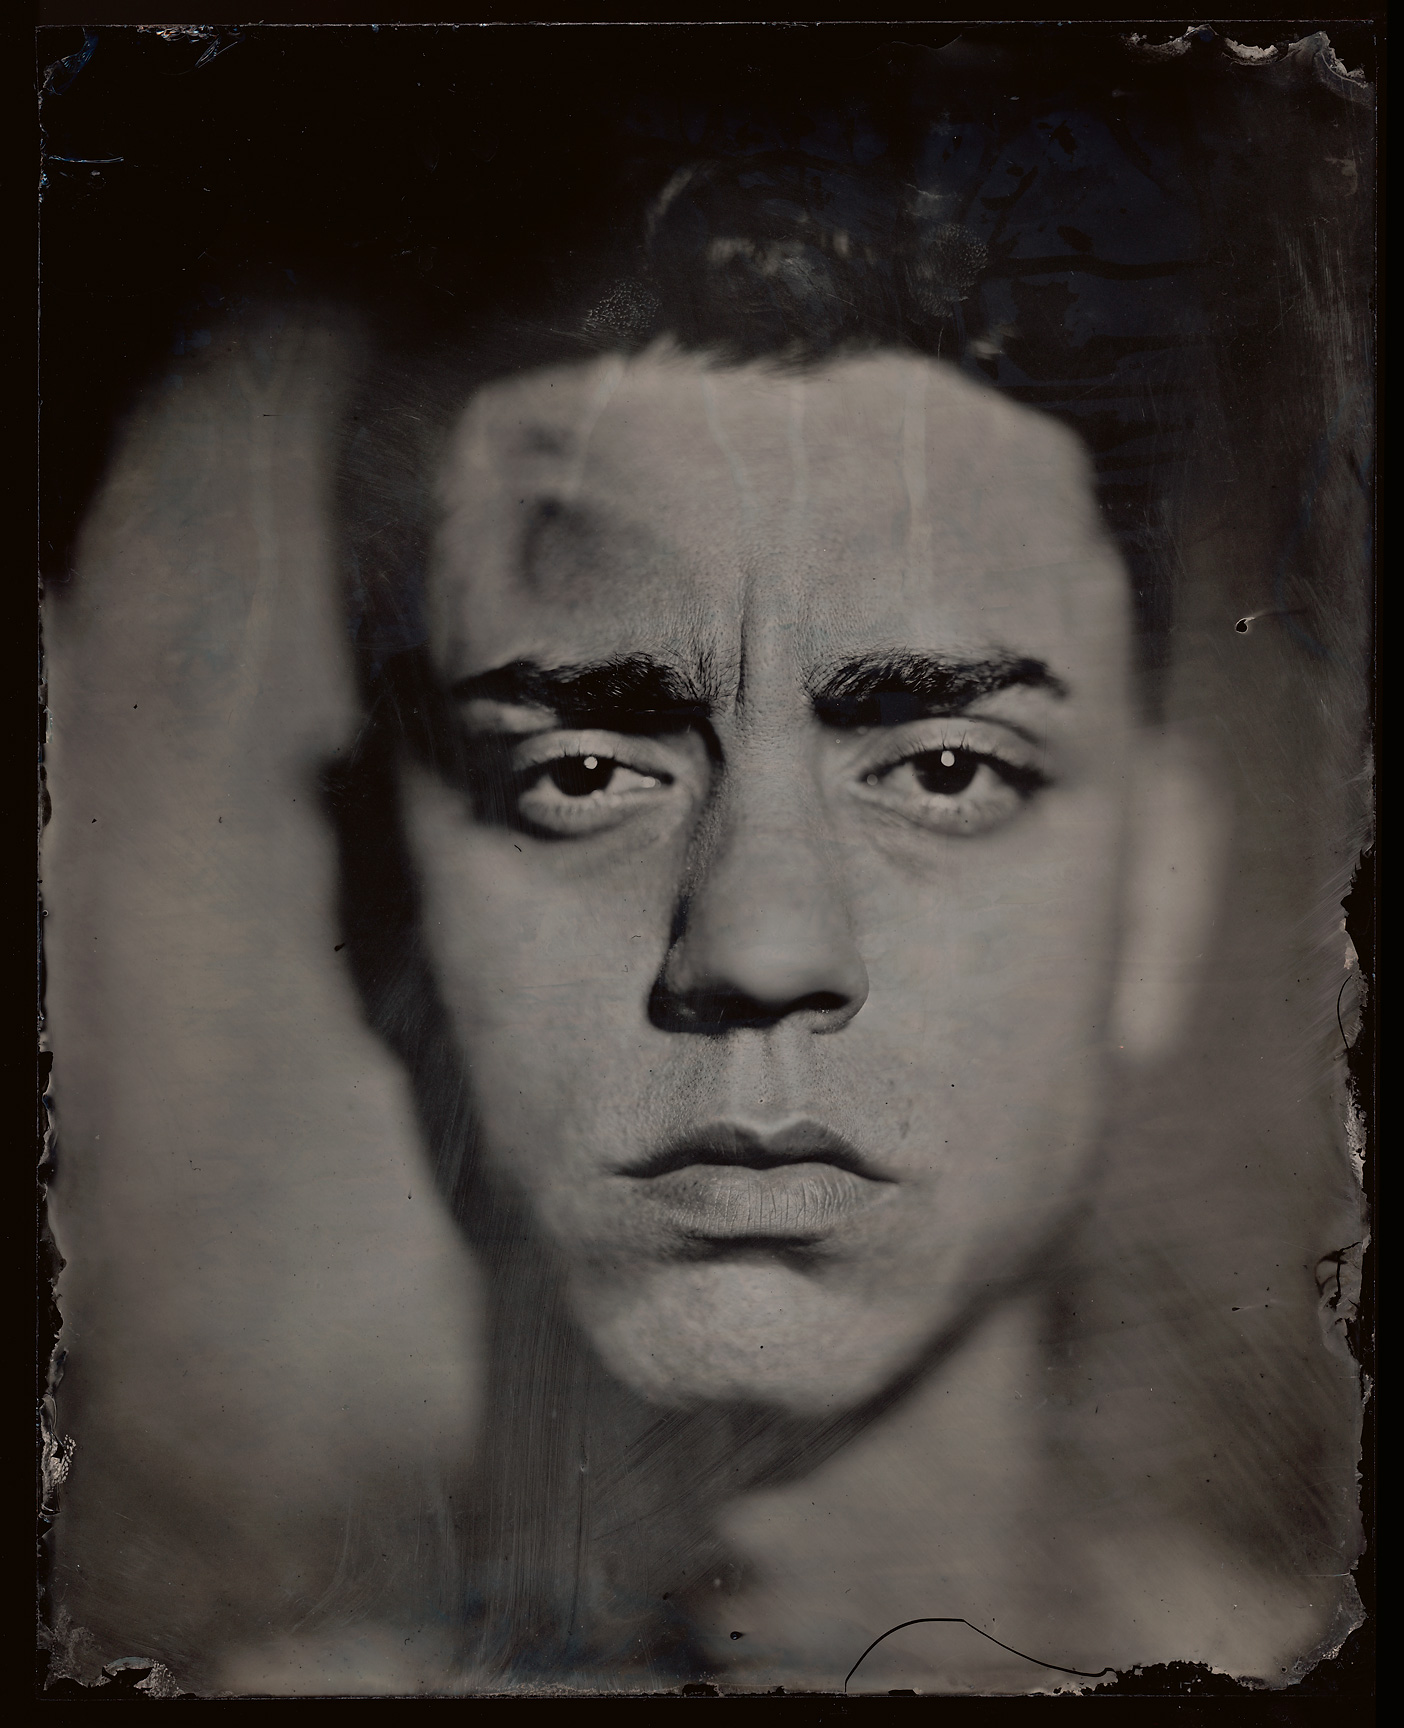
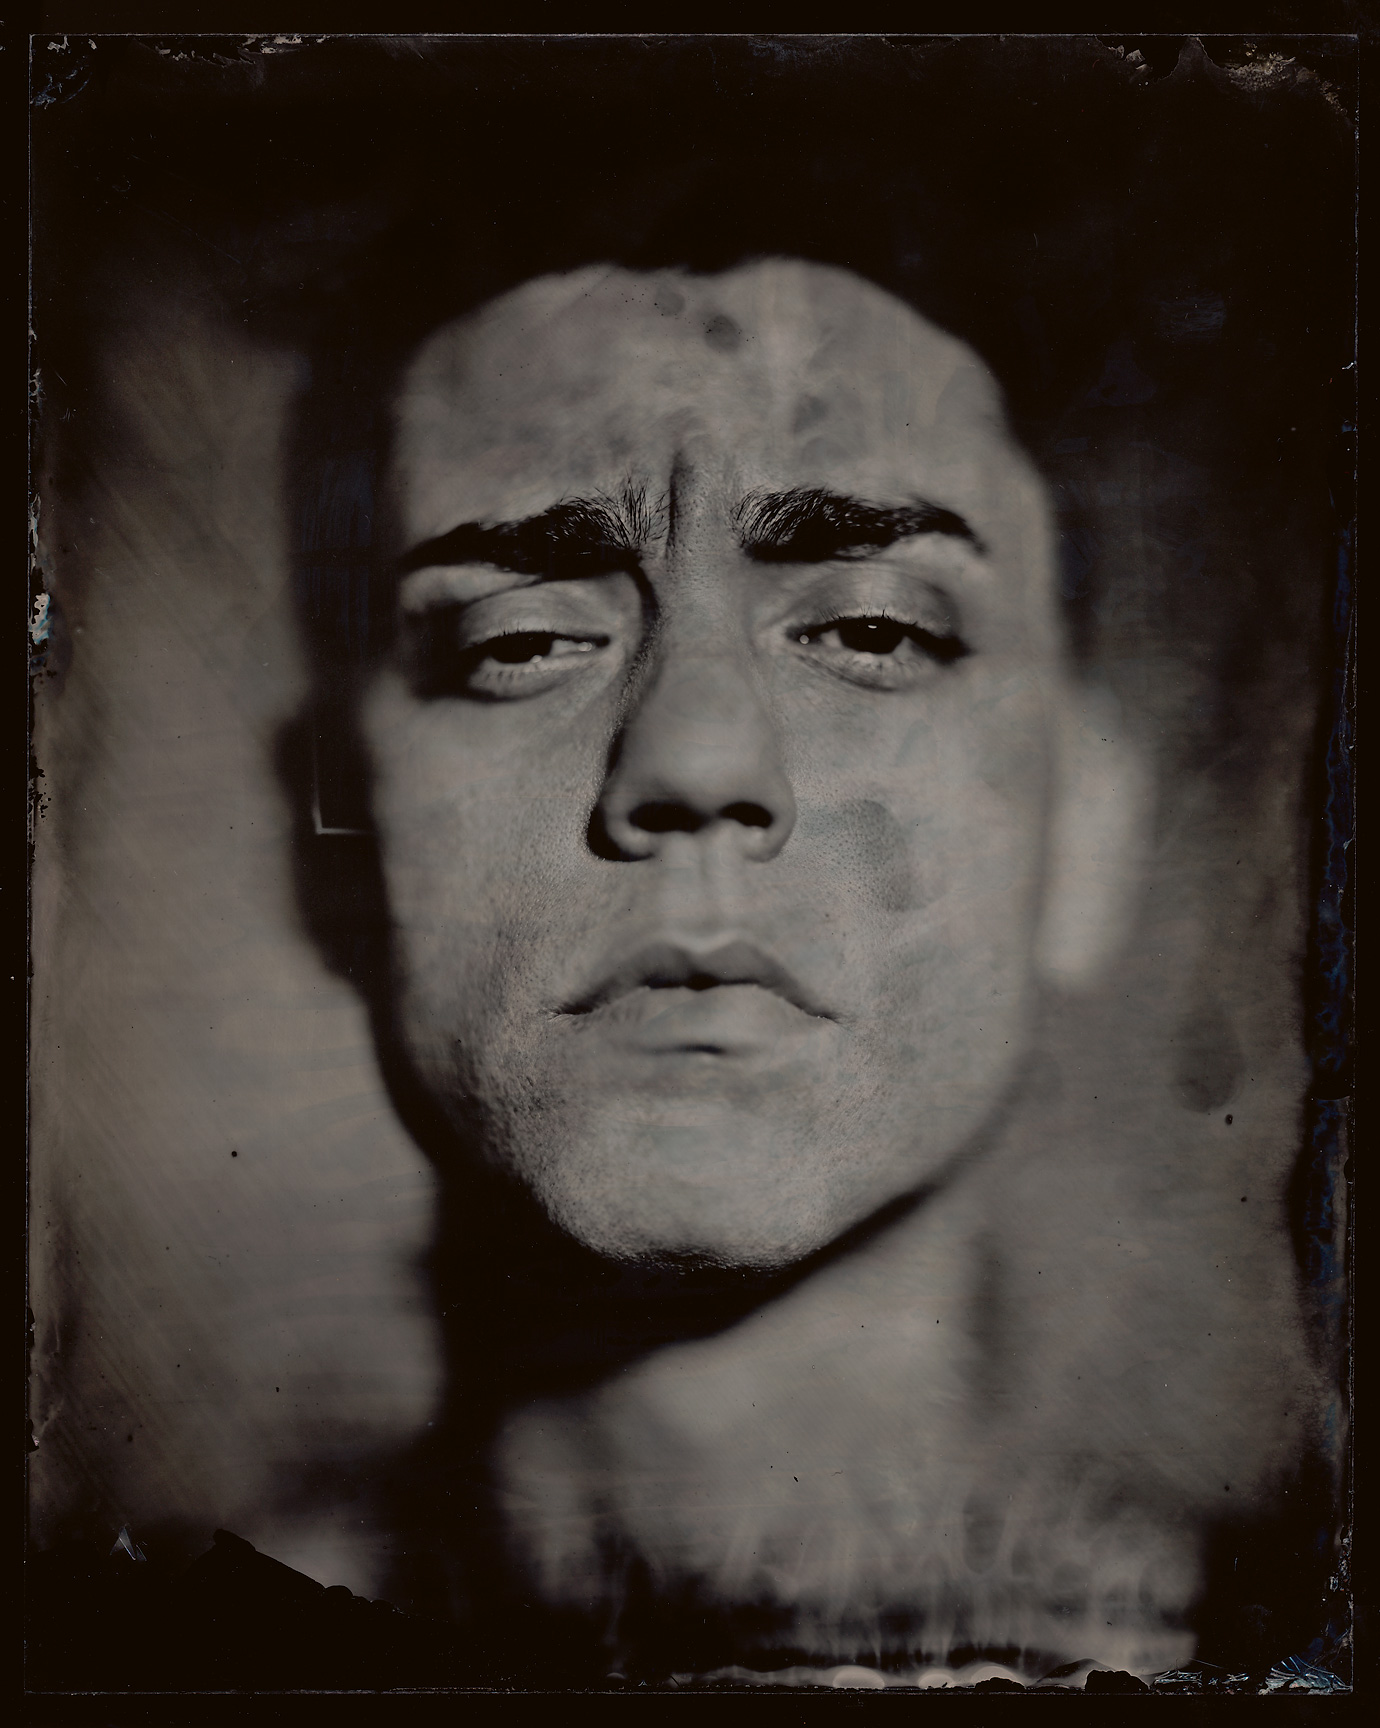
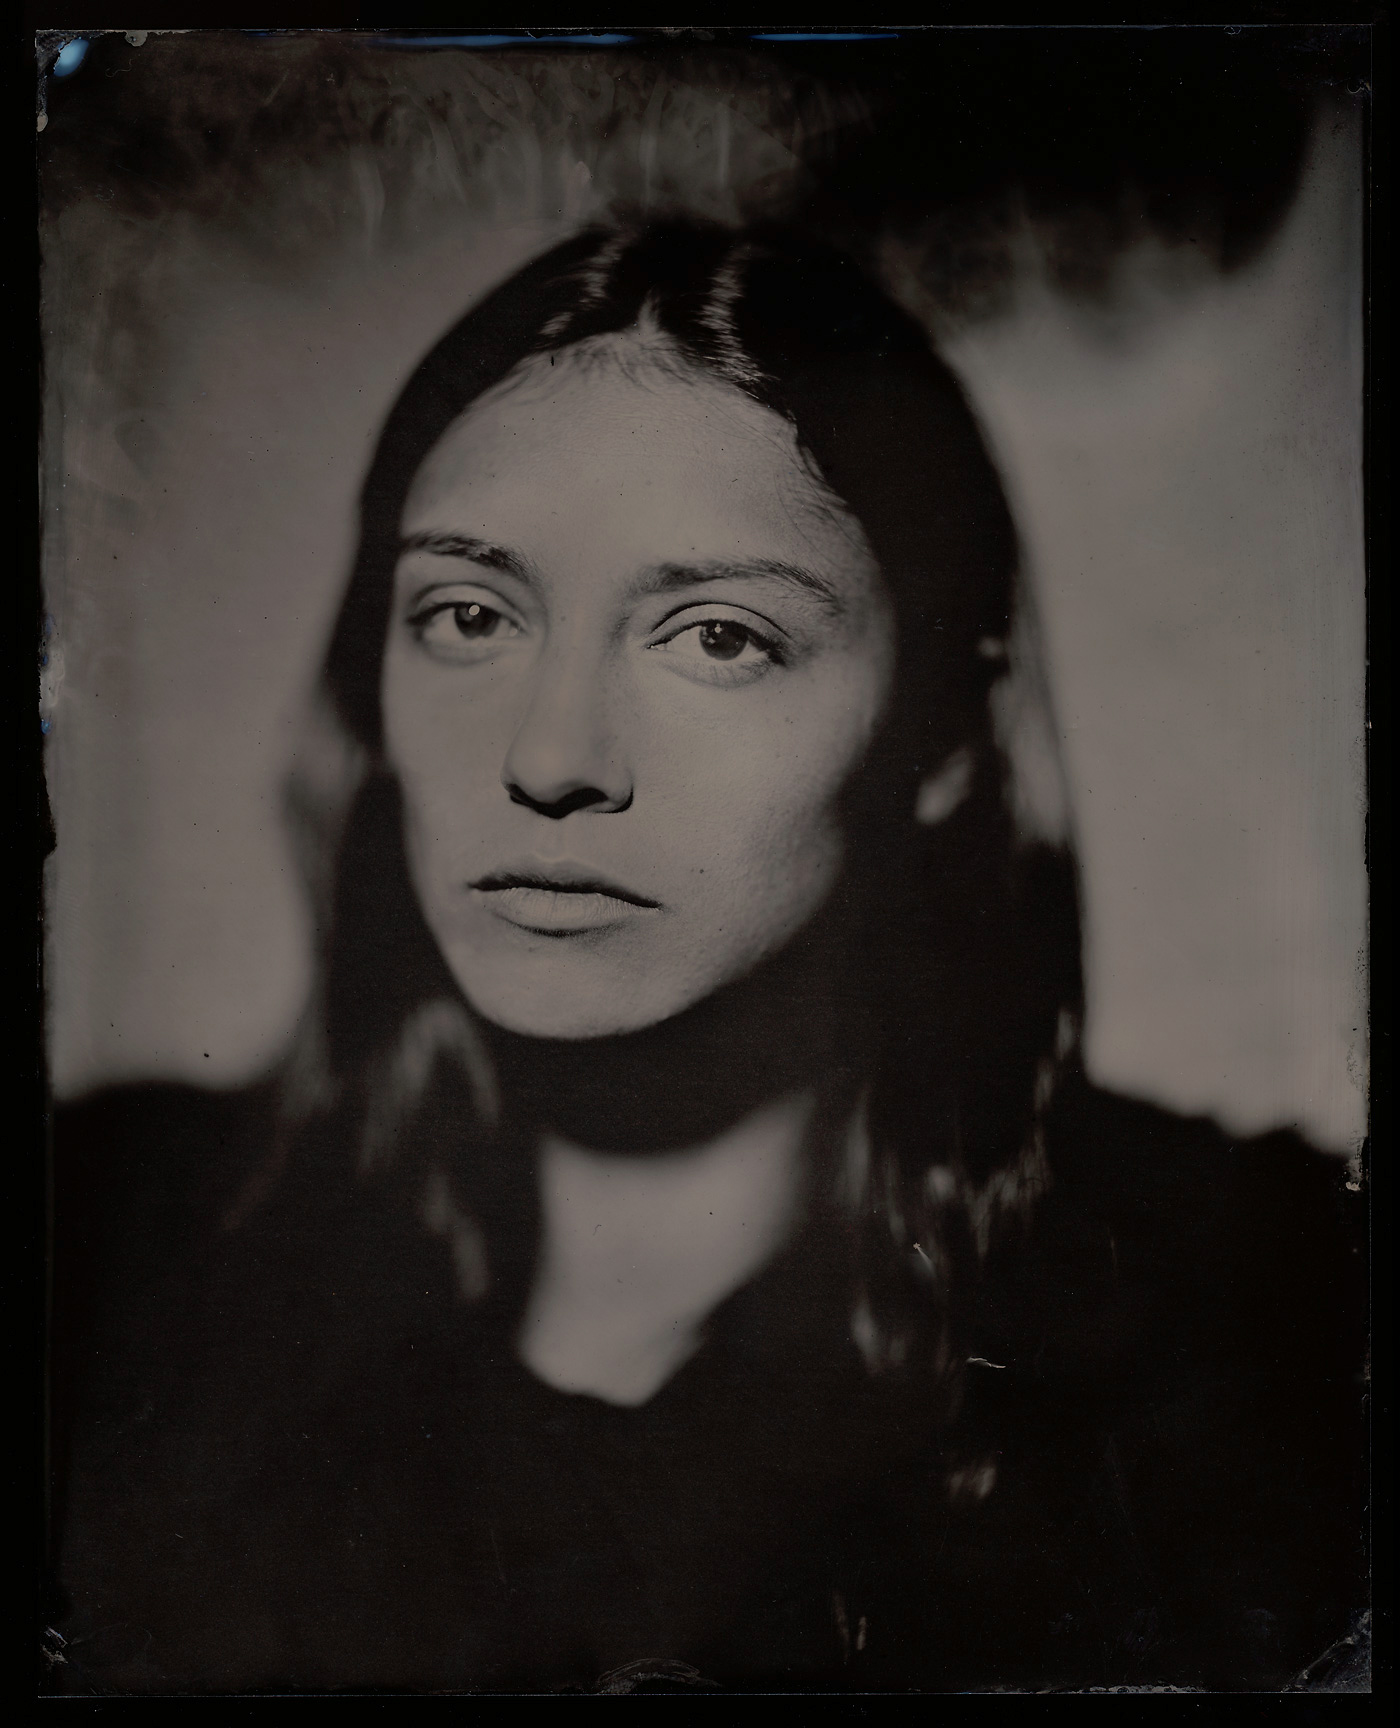
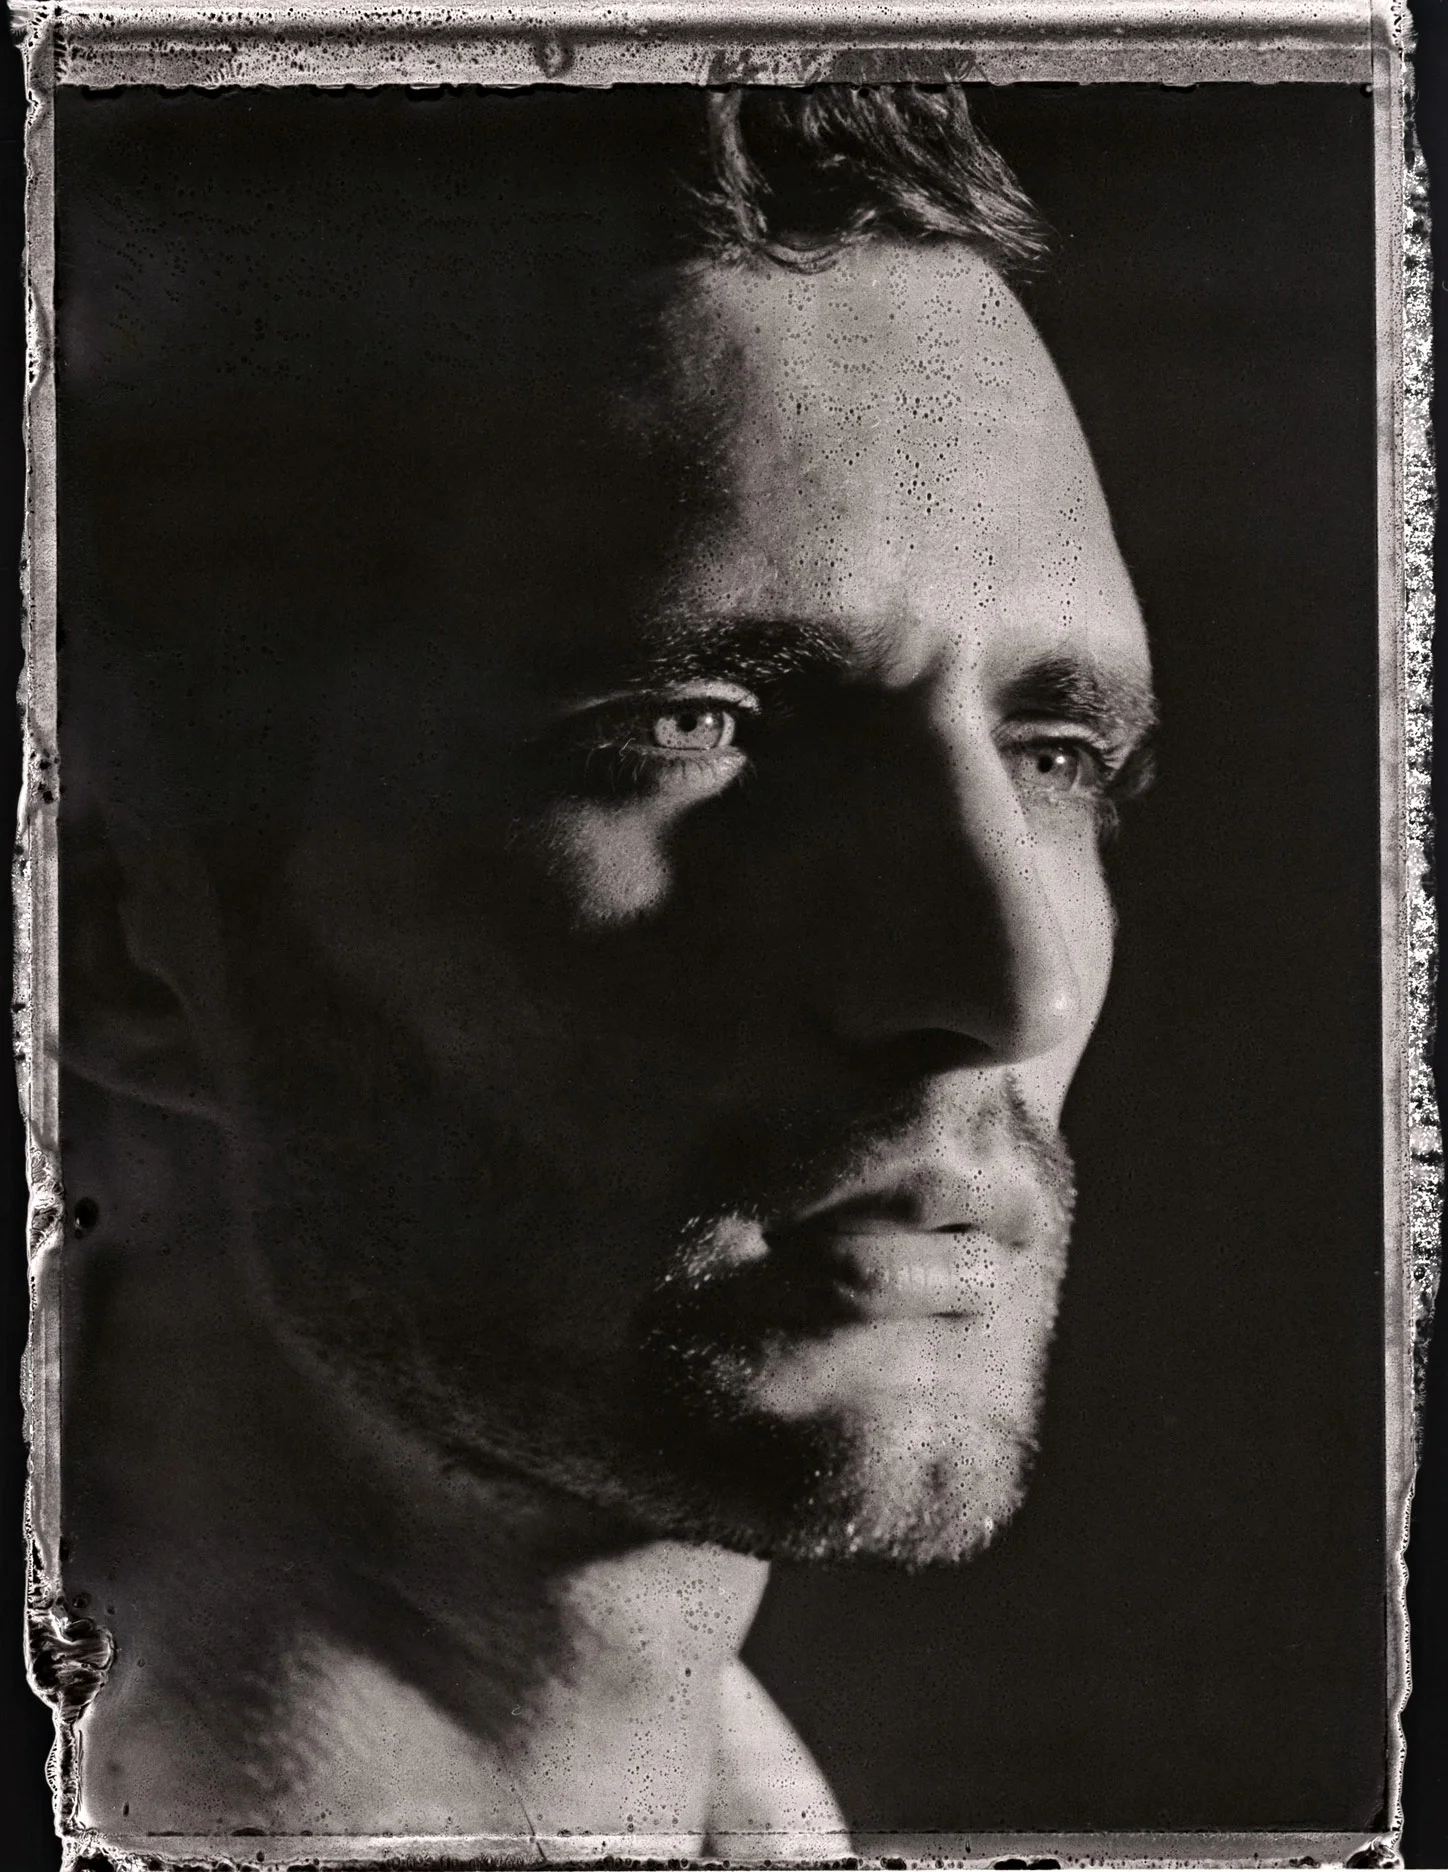
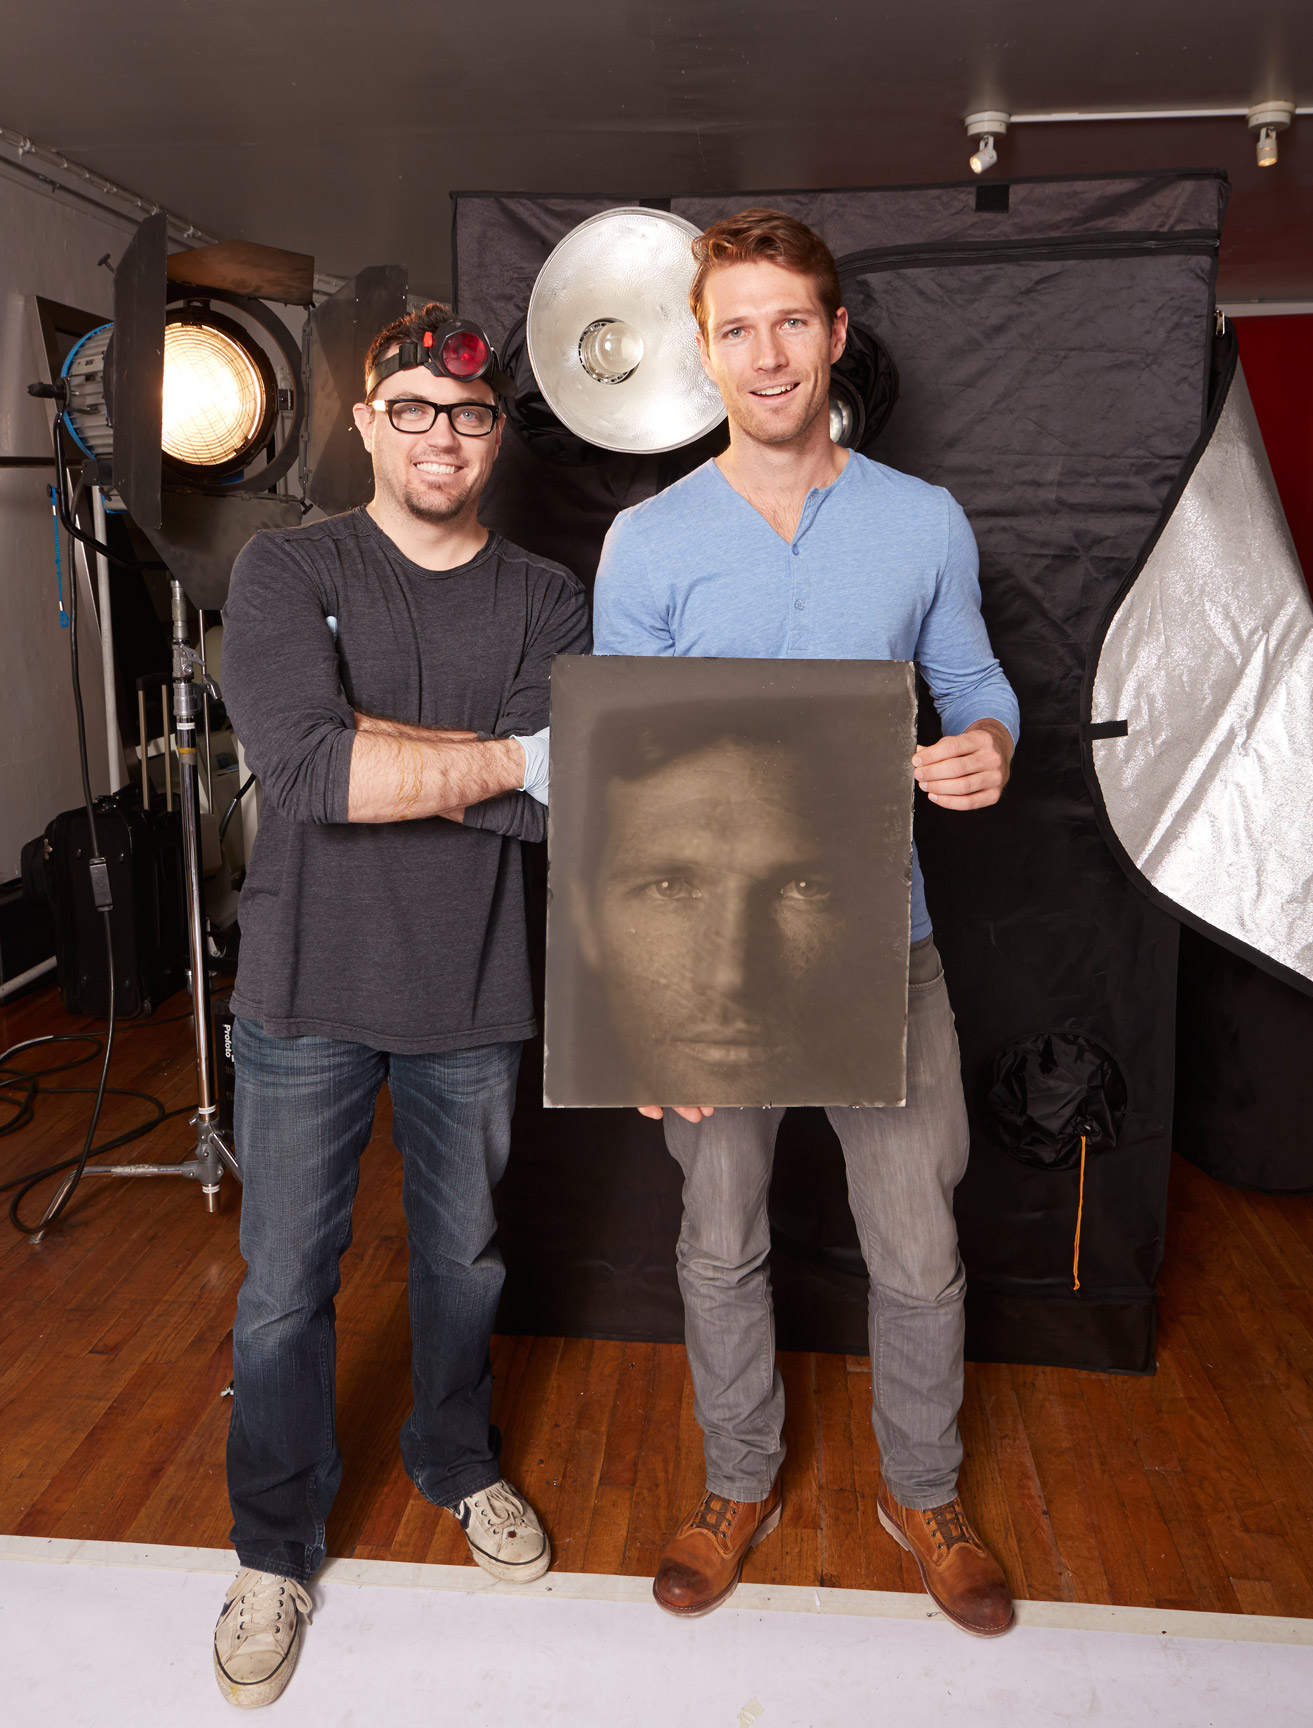
Christophe from New York Models was kind enough to send Vince(pictured below) over to the studio to make this test a good one. :)

james-weber-wet-plate-camera-13509

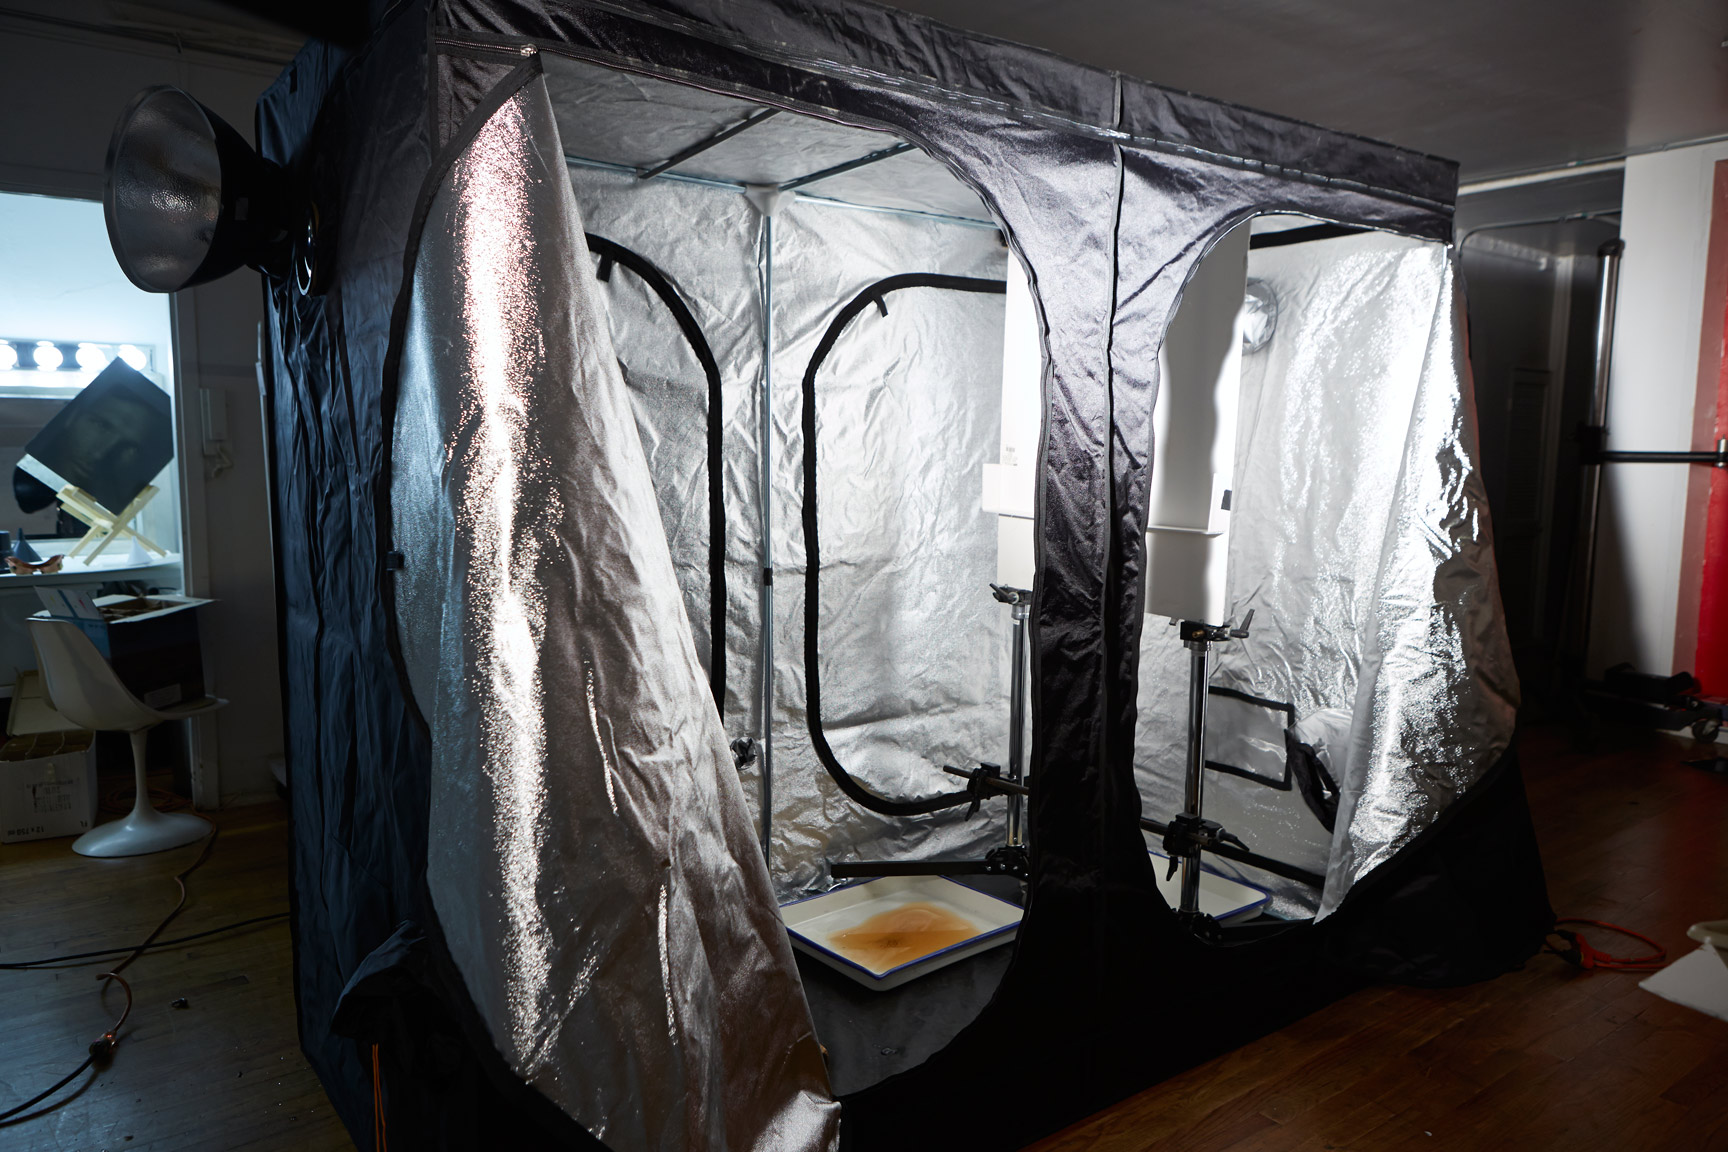
Funny enough, the enclosure that worked the best turned out to be a "Grow Room" for weed....lol.  The fun secondary benefits included some very nice openings that were meant for ventilation and lighting, but ended up working out as a great place to put the lens and the light.  It's truly a light tight room and perfect for the shell of the Giant Wet Plate Camera.

big-camera

Here's a shot of the inside with the lens and light.  You can see the P-50 reflector in the shot above.  The great thing about the placement of the light is that it's so close to the lens.  This allows me to light up my subject with my Profoto Bi-Tube and 2 7a 2400 packs.  It's 4800 watt seconds of power per shot.  You can actually feel the air off of the strobe when it fires.  It's pretty crazy the amount of light that it puts out.  Collodion needs a lot of light to work, so this, plus a little extra time after the flash is enough to get a great image. The ISO is around .25 to 1.

james-weber-wet-plate-camera-13510

The inside of the camera is also the darkroom.  Because the plates are so big, they have to be tray sensitized(silver nitrate), developed, fixed, and washed.

The Siver Nitrate and development is done within the camera turned darkroom.

So strangely enough, the focusing and shooting of the camera are done INSIDE the camera. :)  The backplate moves back and forth manually inside the camera to focus.  You see exactly what you get right in front of you.

james-weber-wet-plate-camera-13511

james-weber-wet-plate-camera-13512

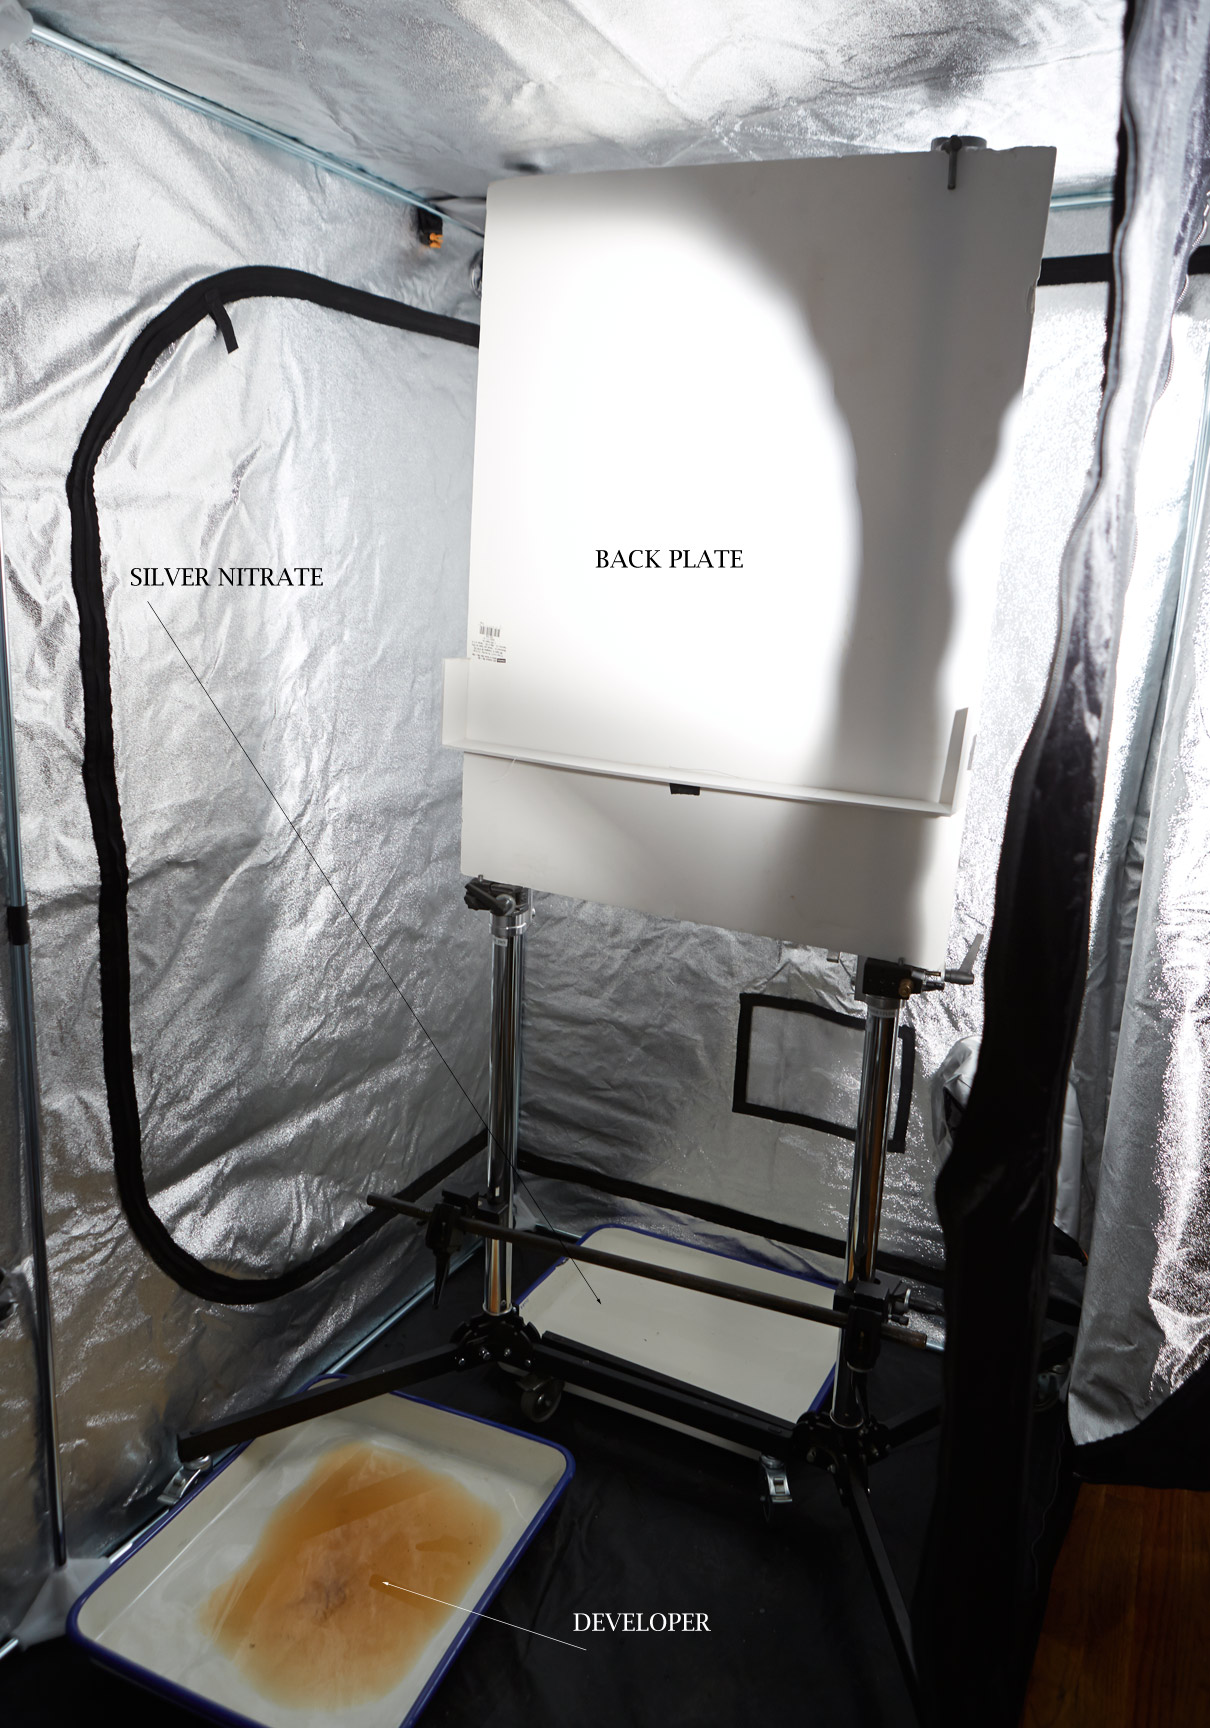
When zipped up, it's completely light tight.

Here's the start of the process, where you pour collodion on the plate...

pour from James Weber on Vimeo.

After you shoot the photo and have it developed, you have to then fix it.  Here's the first big plate that I shot with the camera.

Wet-Plate-James-Weber from James Weber on Vimeo.

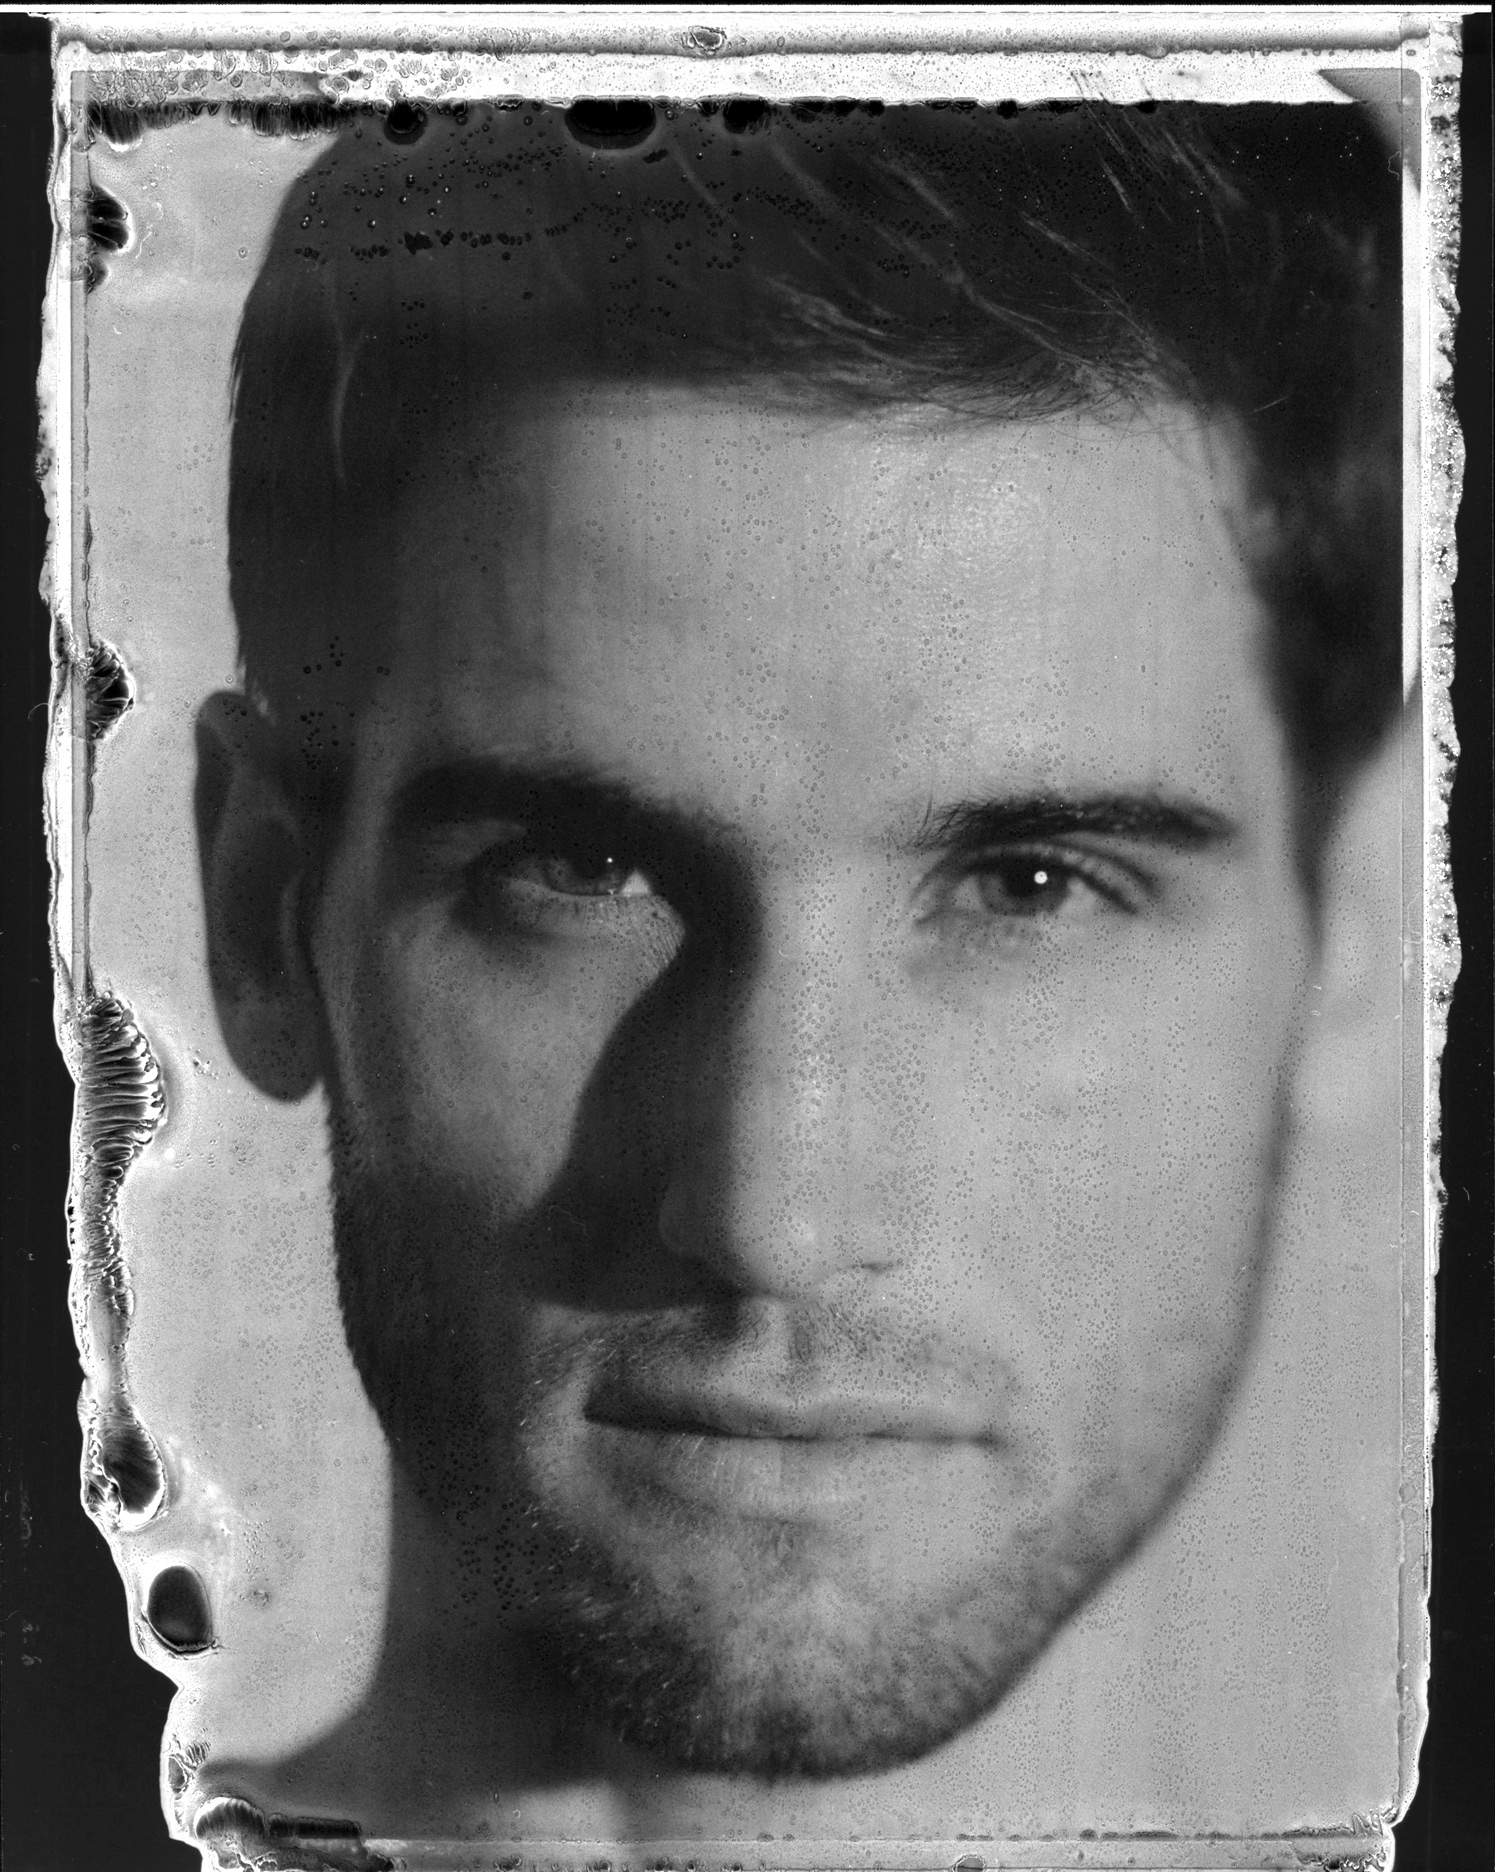
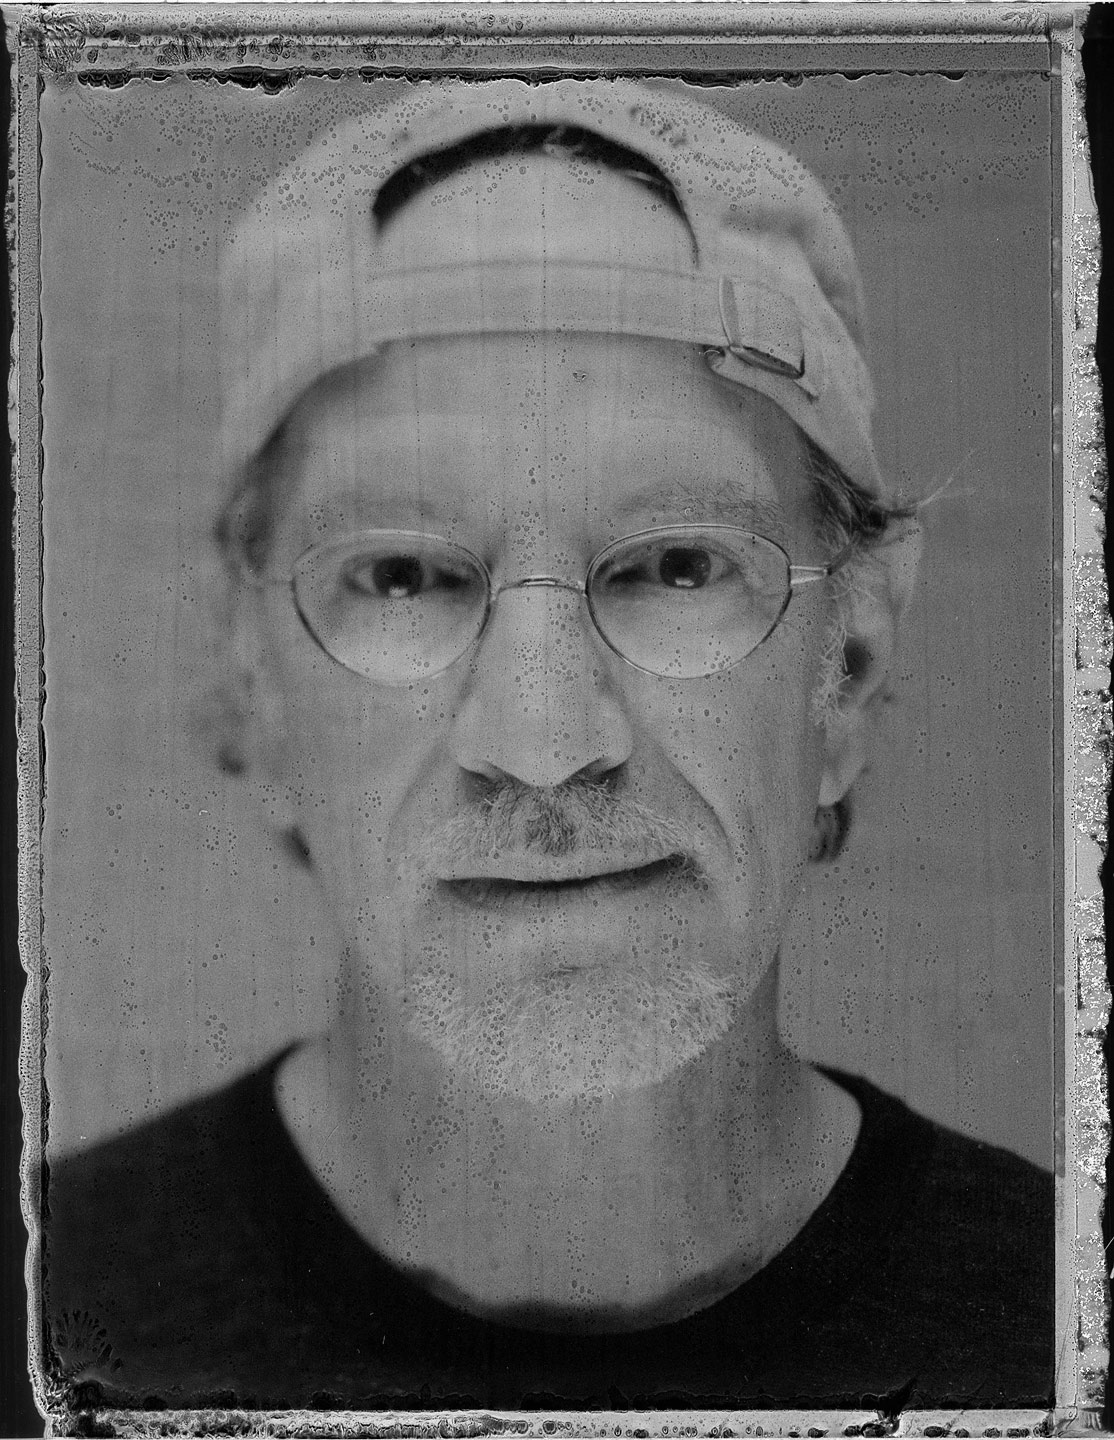
I'm very excited about the possibilities the camera creates.  I'm planning to continue my portrait series and eventually, take it on the road to do some big landscape Ambrotypes, Glass Negatives, and large Aluminum plates.  The possibilities are endless...

Portrait of Vince Dickson.  © James Weber, 2013

james-weber-wet-plate-camera-13513

Until next time...

Wet Plate - Men's Day 1

Continuing on with the Wet Plate Portrait Project, "Faces". I had two great guys come over from Fusion Models.

This is Caleb from Fusion Models.  I looked at Caleb's book.  I saw the potential for him to be stronger, more visceral in his images.  I told him I wanted to project strength.  That he did!  I wouldn't want to run across this guy at night. :)  He did an amazing job.

8"x10" Black Glass Ambrotype

JAMES-WEBER-PHOTOGRAPHER-PORTRAITS-13475

8"x10" Black Glass Ambrotype Photography by James Weber

We did all of these 5x7's to get the lighting just right and ended with the 8x10's above.

5"x7" on Black Aluminum Photography by James Weber

5"x7" on Black Aluminum Photography by James Weber

5"x7" on Black Aluminum Photography by James Weber

5"x7" on Black Aluminum Photography by James Weber


This is Marc @ Fusion Models.  I had shot him a few years ago, so it was nice to see how he had grown in experience.

5"x7" on Black Aluminum Photography by James Weber

These last two were my favorites.  He's got such a great direct connection with the camera in the first, and the second reminds me of one of the gangsters in the movie, "Far and Away" .

8"x10" Black Glass Ambrotype Photography by James Weber

8"x10" Black Glass Ambrotype Photography by James Weber

It was a fantastic day all around.  The chemistry wasn't giving me any trouble and the guys were awesome.  I'm looking forward to some more shoots that go this well.

Emulsion Lift with Impossible Project 8x10 Film

So I recently picked up a few boxes of the new Impossible Project 8x10 instant film.  I've been waiting for this for a long time.  Polaroid made the last 8x10 batch in 2006.  It's been so long that the pods have all dried up, which makes it unusable even if you could find a box on ebay. Enter the Impossible Project.  The Impossible Project had bought all of the 8x10 production machinery from Polaroid just days before they went into bankruptcy.    They focused on all of the smaller films first, but finally, they were able to put their attention to starting up the 8x10 production.  This is some of the film from the first production run.  I took a workshop at The Impossible Project office to make sure I got a handle on how to use the new film.  It's not a peel apart film like the original polaroid was, although you still need the polaroid processor to use it.

First thoughts are this is a very cool development for old process lovers.  Being able to shoot this format will bring a whole new generation to large format photography and keep it alive.  The artistic possibilities are also something that you will never get from digital or some filter that becomes the new rage.  Instagram can't create these effects.  There is something to be said for doing it the analog way.

Below are the two shots I took.  One of their employees, Kyle, was kind enough to model for me.

You could actually just keep it like this and that could be your final product.  But....there are other options of what you can do with the new film.  I experimented with 2 of  the options.

1.  Do an emulsion lift and put the lifted emulsion onto some other medium.  In this case, I put it on some 300 gsm matte paper(below), which is my favorite application for polaroid.

2.  Scan the negative side, invert it, and blow it up from there(Below).  I definitely see some fun applications for this.  I love the dark, mysterious nature of this.

First things first.  Get your tools together.  Cut off the edges of the film first.  That will make the lift so much easier.

So, I took a few videos showing how I did the emulsion lift.  It's a little different from the original polaroid lifts.  You used to have to boil water, then put the polaroid in.  With the Impossible Project film, you just need hot water, comfortable to the touch.

Just play them one right after the other to see the process.


Sorry about the sloppy film work here...I took my eye off the camera a few times...lol.


Ok, so I forgot to shoot this image for the other photograph...so this is where you use a piece of transparent film to get the emulsion out of the water.  You can now shape the emulsion how you wish it to show up on your fine art paper.

So I used a 300 gsm paper for my base.  It's good to use a thick paper as otherwise the wetness will make it curl up.  I used Matte Medium for the adhesive base.  Just use a brush to apply evenly.


Once again...sorry, we're switching up images to show you the last phase...forgot to film it on the other one.


.

Here's the inverted Scan again.  You have to bring down the blacks quite a bit to see all of the detail.

It's funny, I learned that by baking the emulsion in my attempt to dry it out faster, it actually made it turn sepia.  So, if you like that, get your bake on.  300 degrees, keep the door open, and cook until you like it...just don't burn it. ;)

As you can see, it now has a sepia tonality to it on the top.  The print was hanging out of my little toaster oven, so the bottom is still more black and white...so I thought I'd keep it that way.

Well, that's it for now.  I'm going to do another shoot from start to finish and try to make it one movie next time.  Until then, I hope some of you go out, pick up some film, and keep this wonderful large format art alive!

-James