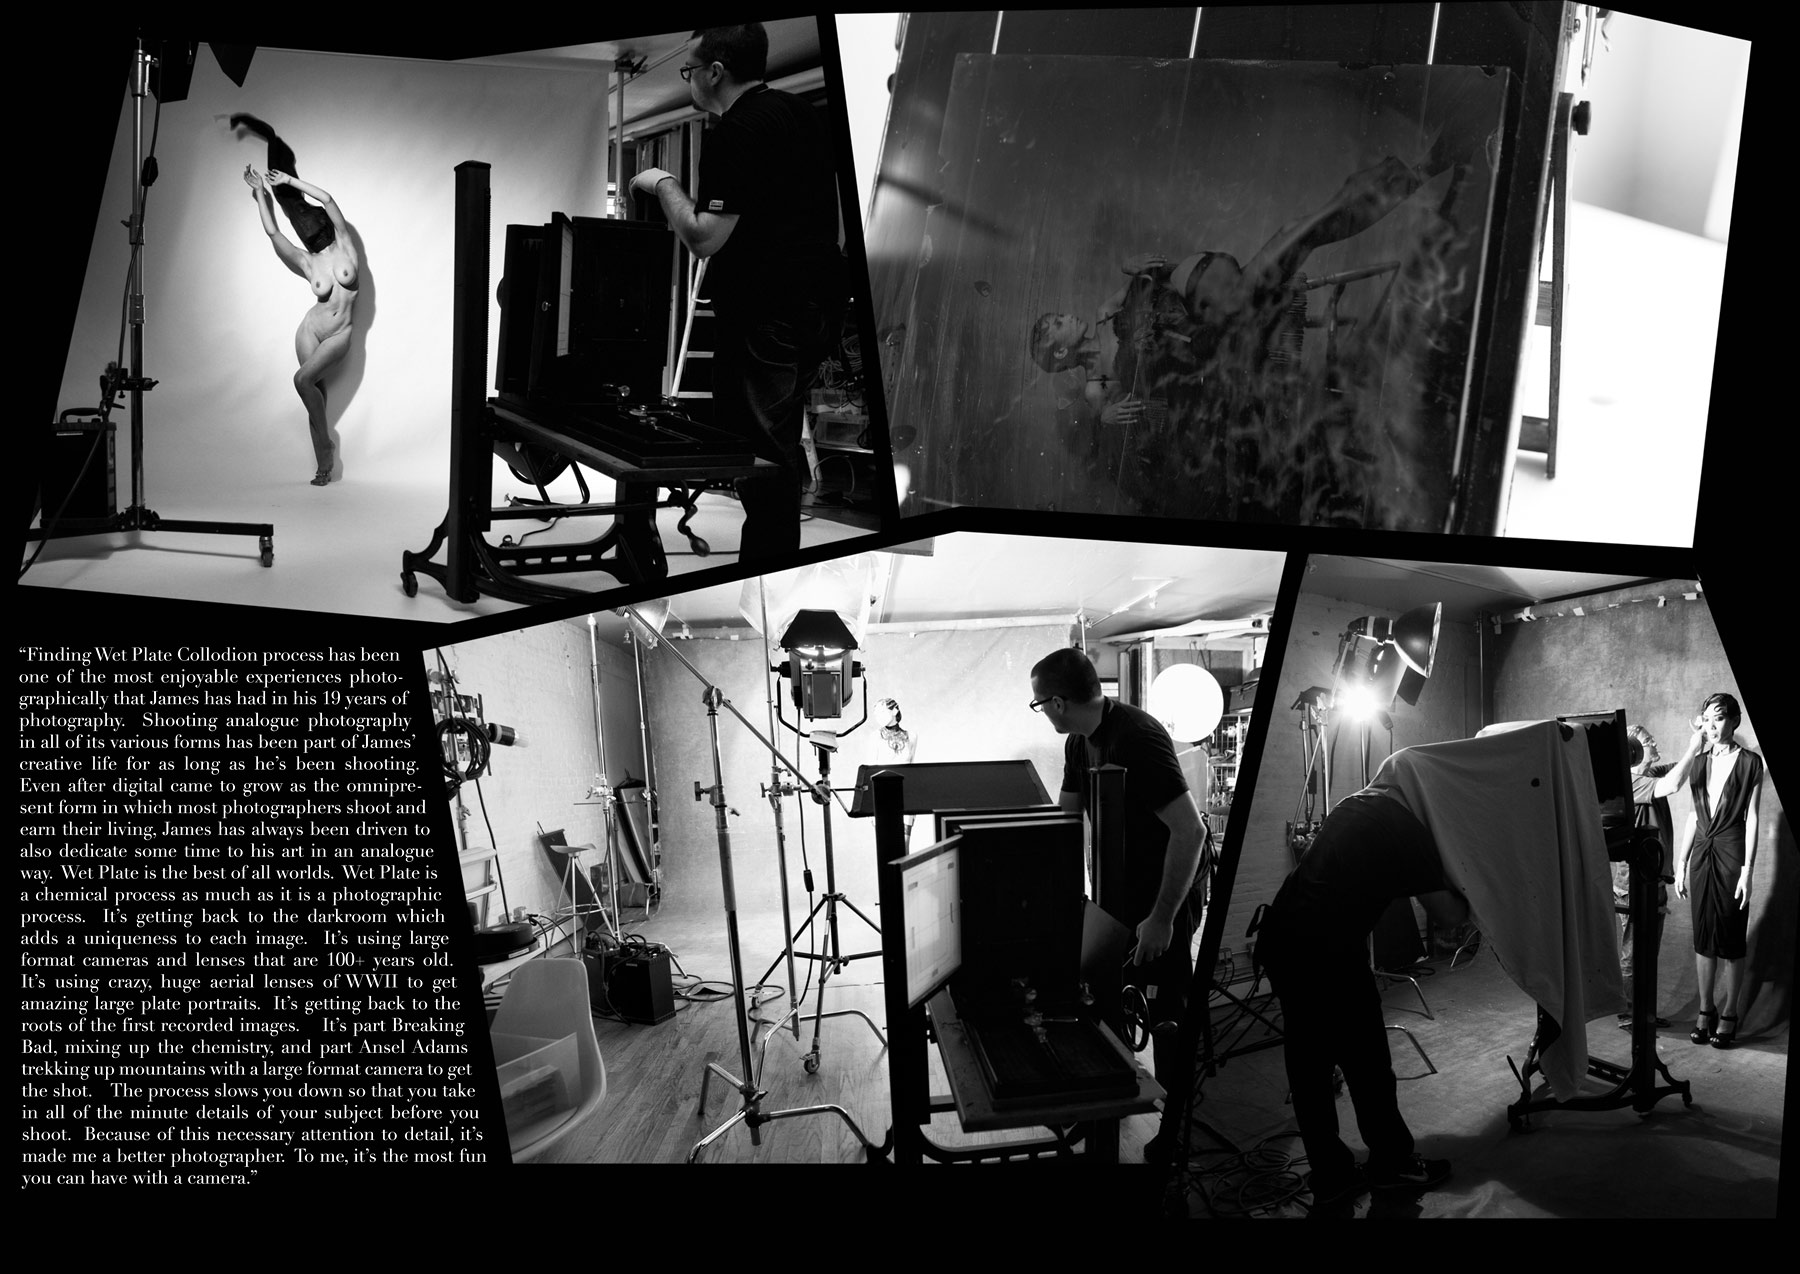
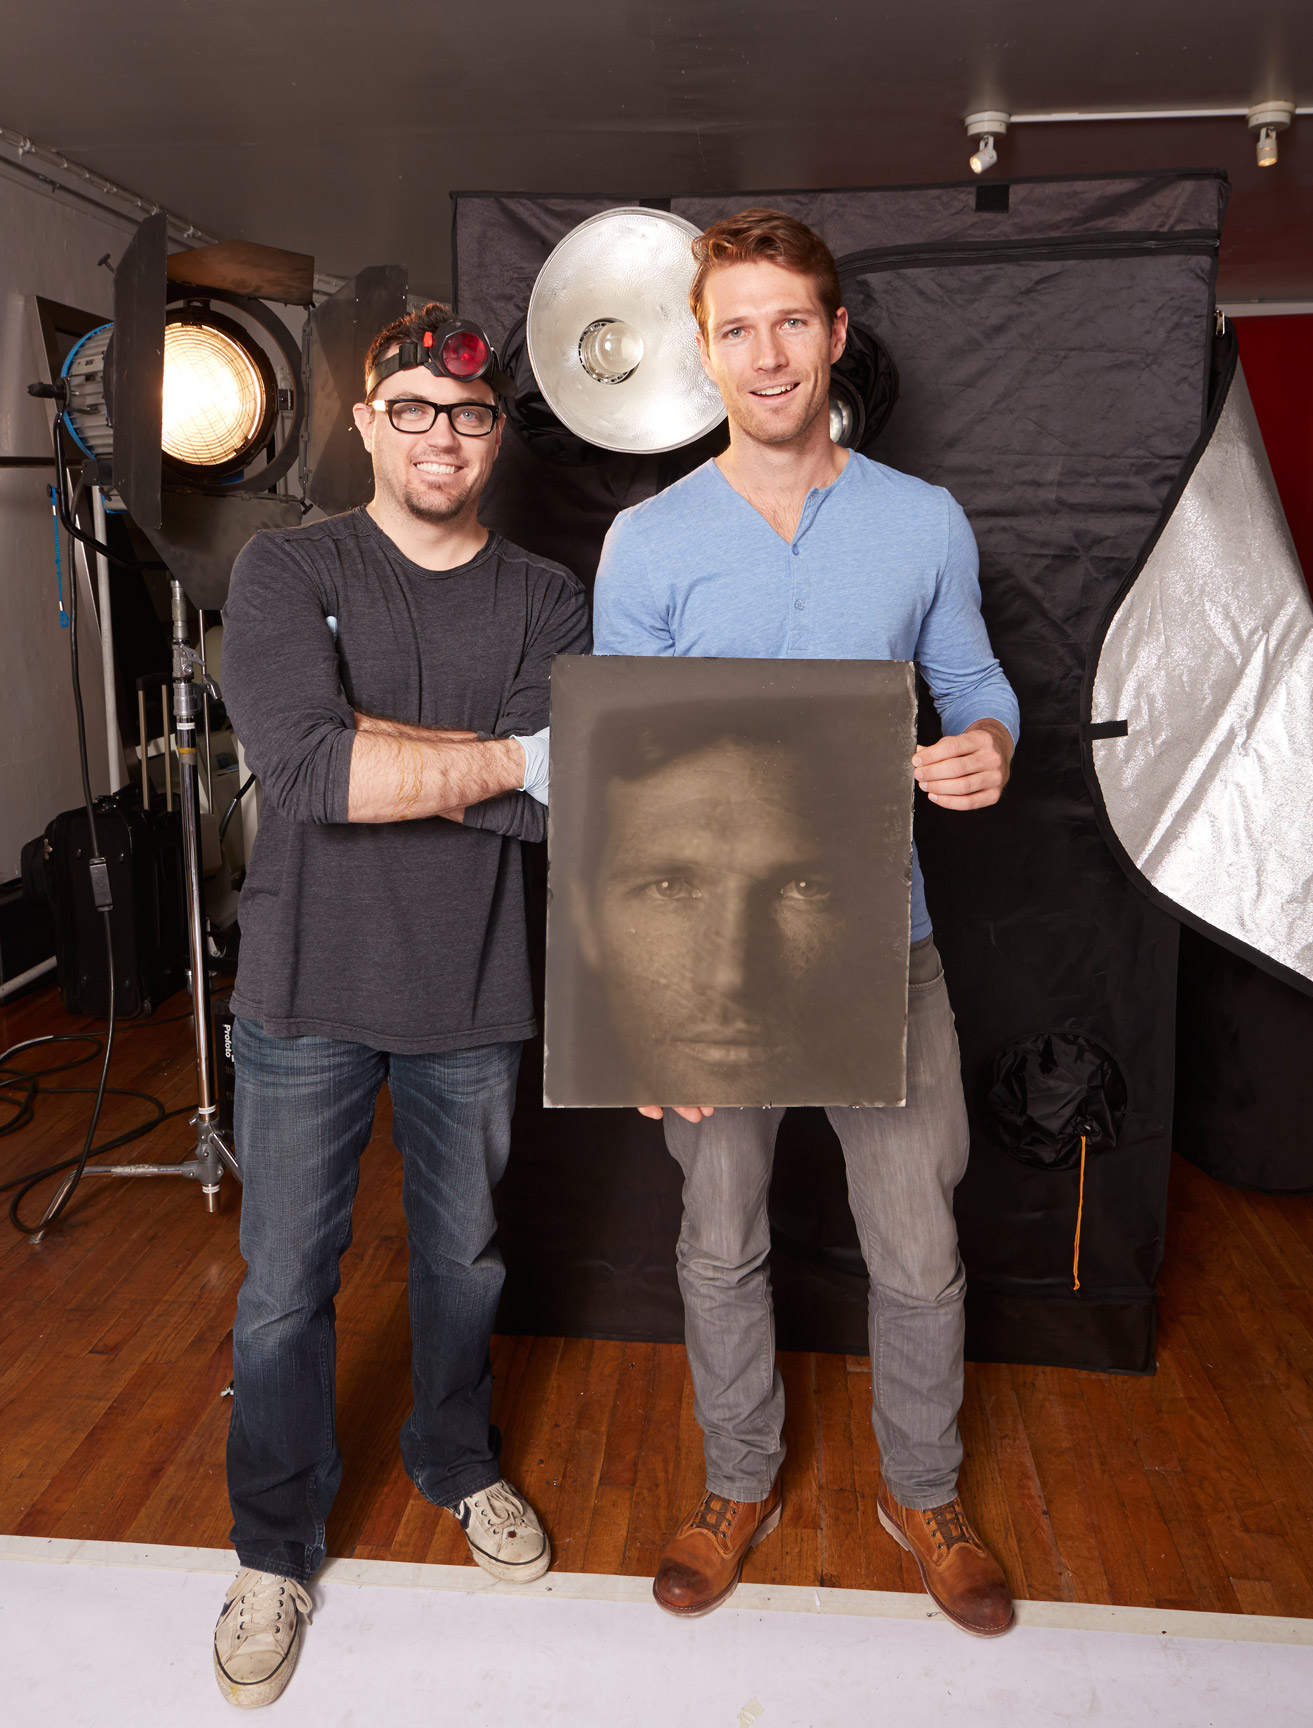
Ok, I've become a little obsessed. I guess when you go off into something new, it starts off small, but ends up becoming more than thought it would be when you started. It's frustrating, messy, complicated, fairly expensive, but OH, SO enjoyable when it works out well. I didn't realize how much I missed the darkroom and getting my hands dirty until I found wet plate. The process is wonderful. It slows you down and makes you think about exactly what you want to do. There is no rushing into anything. My friend Rico Elvina was kind enough to come by one of my shoots and take a few photos to show what goes into making tintypes, ambrotypes, and glass plate negatives the way they did in the late 1800's.
Since then, I've been a little busy getting all of the tools I needed to shoot wet plate. You have to be 1/2 alchemist and 1/2 photographer. There's a lot of chemistry that goes into just preparing to shoot. Some of it is quite hazardous. Wear your safety goggles at all times making the chemistry. :)
A little video of me showing all of the chemistry needed in the process. I was mixing up a new batch of developer and collodion this day...shot on my iphone.
IMG 2976 from James Weber on Vimeo.
Ok, the music is a little dramatic, but I had to set the tone for the scene...haha. ;)
Preparing the plate with Collodion...

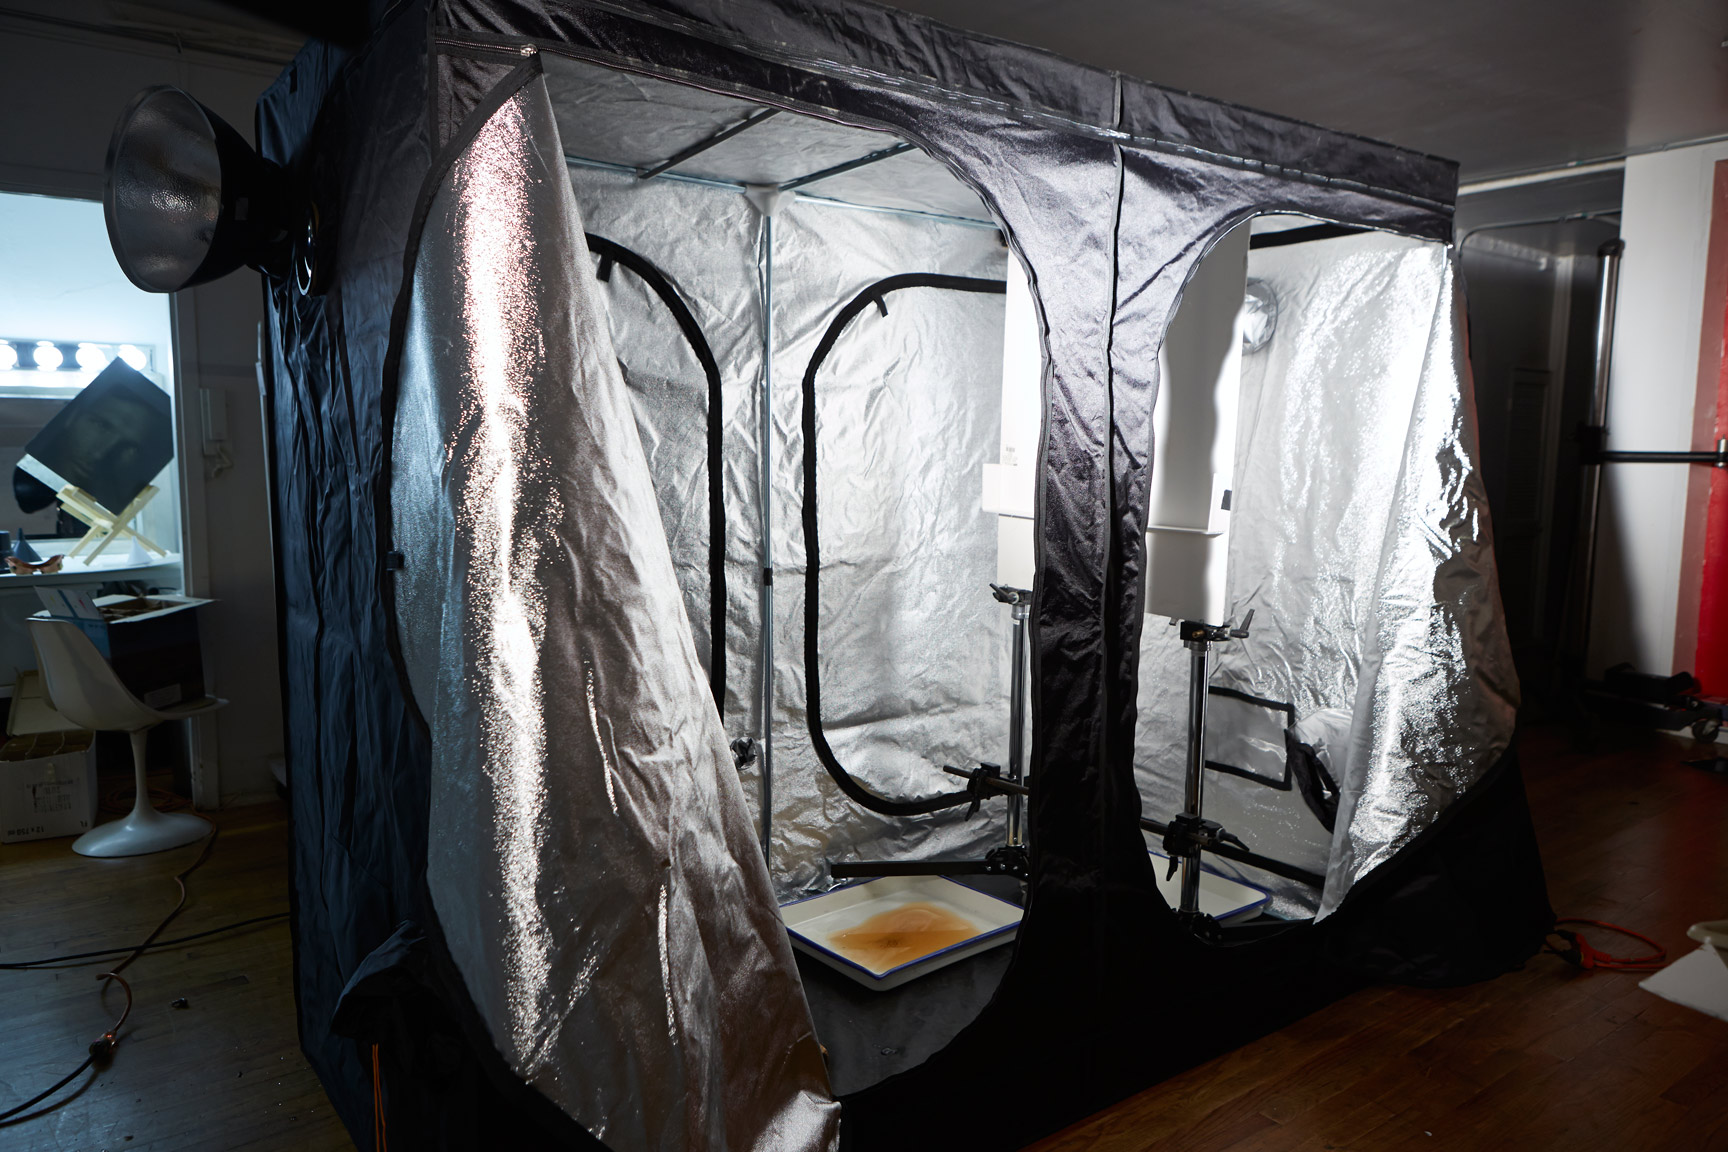
In the image above and below, I'm pouring collodion on the glass plate and am pooling the excess into my little patron bottle. This creates the base upon which the silver nitrate can attach to the plate and make it light sensitive. Patron bottles are the best thing to use as they are really strong and have a nice wide mouth...and you have an excuse to buy them full...hahaha. The box next to me is called a, "Dark Box". It's where you load the sensitized plates and develop them.


Showing my model, Anna the process. I Loved the coat she was wearing. It's very, "Game of Thrones". :)
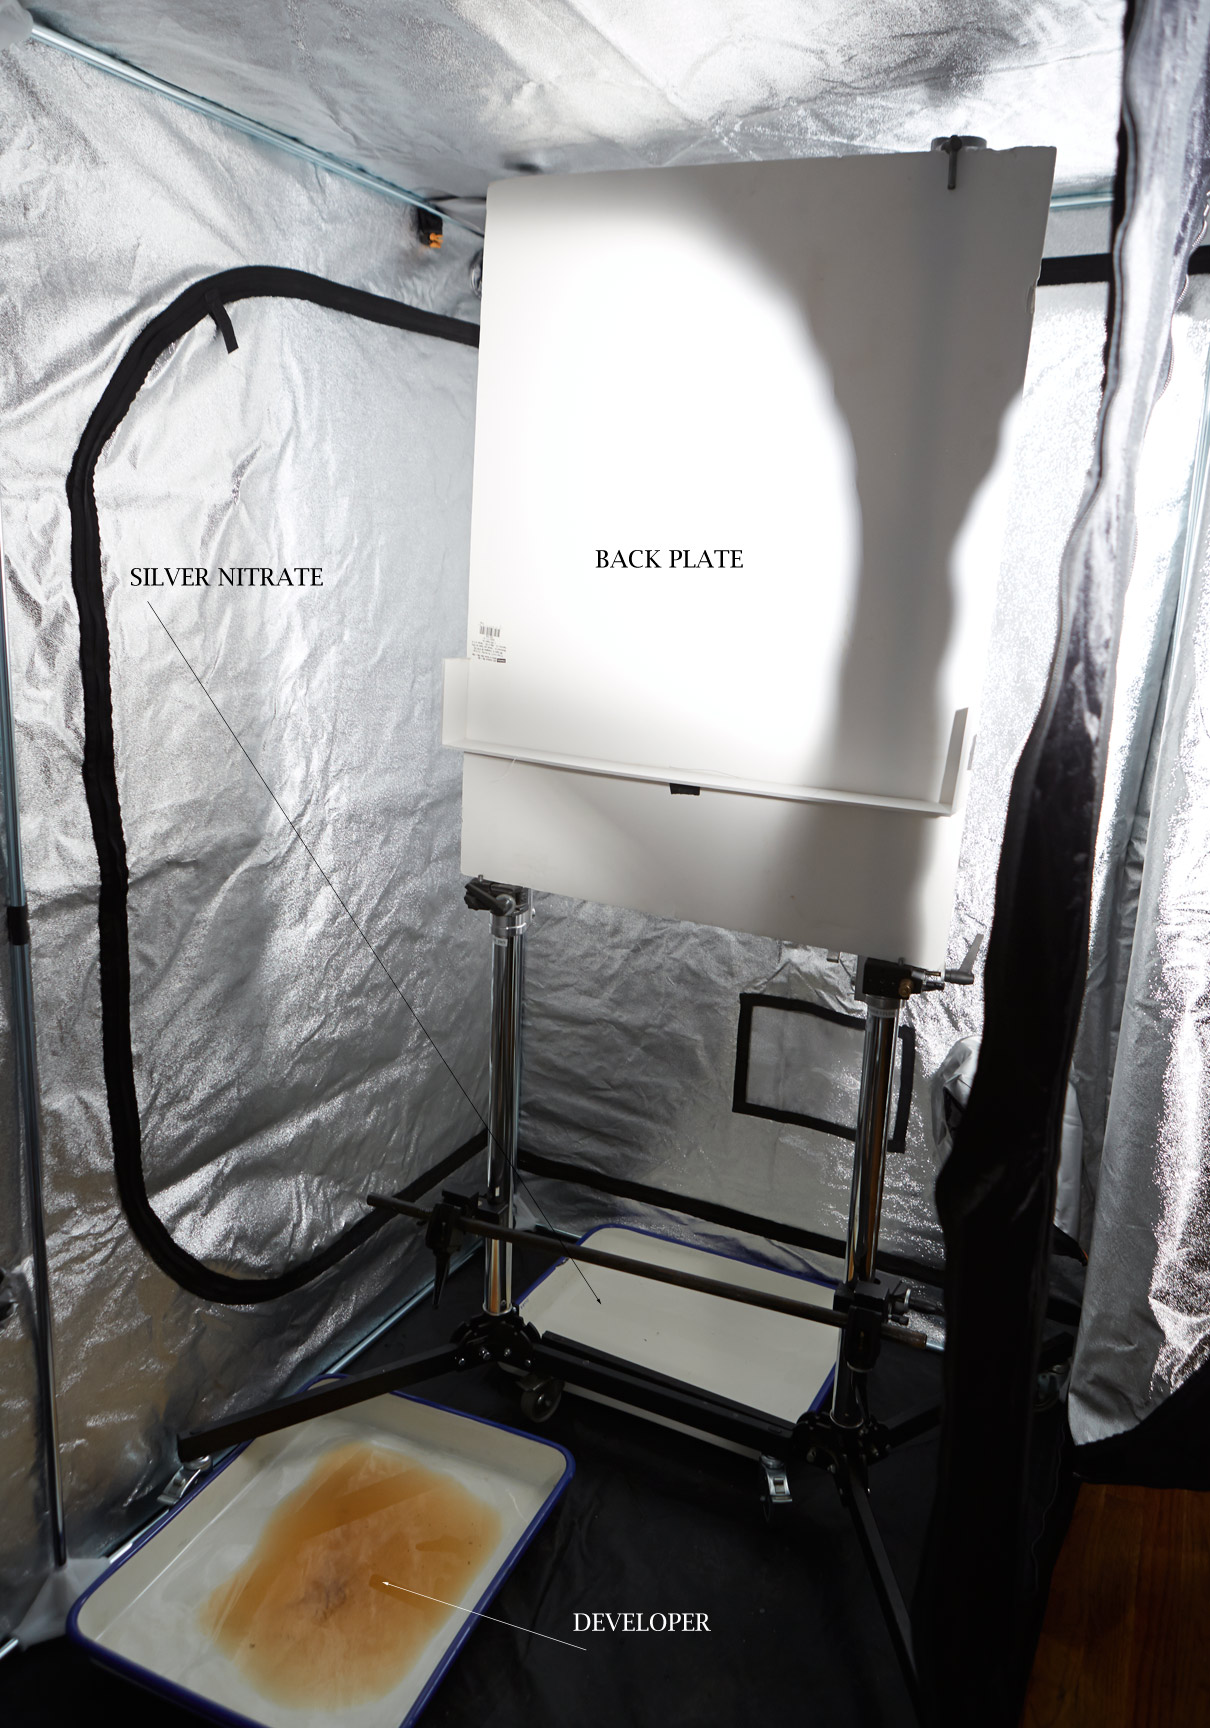
While I'm waiting for the silver nitrate to take hold(3 minutes in the tank for ambrotypes), I get the subject in focus.

To focus, you push and pull the back plate until the image is in focus where you like.

The image is upside down and flipped horizontally as well. Type reads backwards in the final image.

Above: I've got a headlamp on with a red filter on it for use in the dark box. Collodion is not sensitive to red light, so it's the only light you can use to see what you're doing in the dark.

Me with my Anthony Imperial Climax 8x10 camera. The lens is made by Voightlander and is circa 1875.

The light I use is extremely bright. It sounds like a gun going off when the light fires. You have to use a LOT of light in wet plate, as collodion is about 1 ISO, or needs 8 times more light than a normal camera at 100 ISO.

Ok, my apologies in advance. :) It's not the most flattering photo I've ever taken...lol. This is me inside the, "Dark Box" developing the plate. This has to be done in a dark room or dark box. The good thing about the dark box is that you can put it in the back of an SUV and take this show on the road...
Now the fun part...fixing the image and seeing it for the first time.


To see the image, you have to put a glass plate negative or ambrotype in front of something black. The tank behind the image is the Potassium Cyanide Fixer. Really dangerous stuff. You have to be careful not to ingest it. It's poisonous. Respect the chemistry at all times...
Here are some of the plates I shot of Anna that day...
8"x10" Clear Glass Negative

8"x10" Ruby Glass Ambrotype

8"x10" on Black Aluminum

8"x10" on Black Aluminum
There was a second model the same day, but unfortunately we only got off 2 shots. Something was wrong with the chemistry. Her name is Kate and I hope to have her back again soon to finish up our shoot. :)
8"x10" on Black Aluminum.
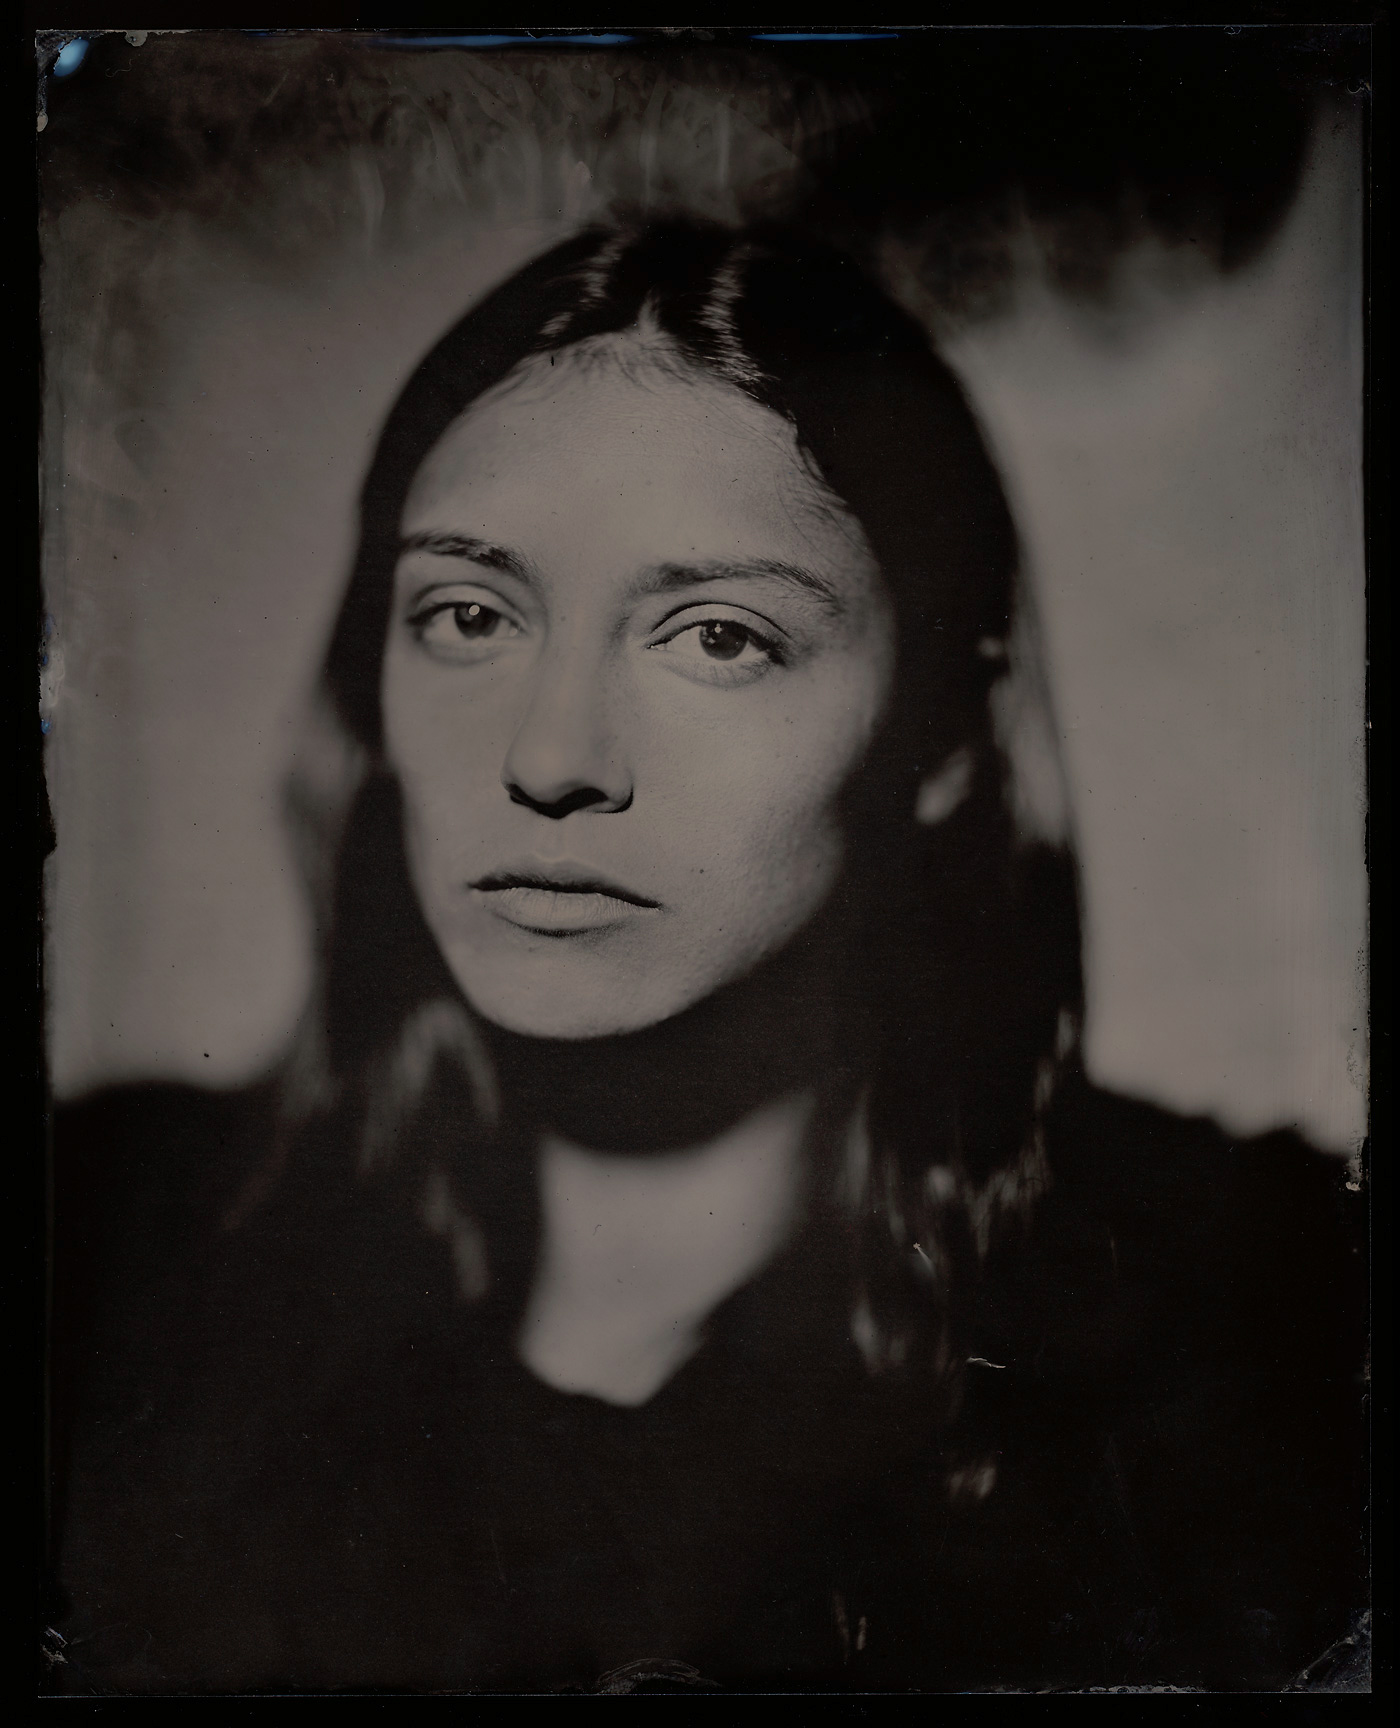
I've just started this portrait series, "Faces". I don't know where it's going to take me, but I don't have too many parameters to confine it. My main focus it to shoot very natural images of people. Not a lot of hair/makeup. Try to get something in them to come out on the plate...strength, vulnerability, sadness. The eyes are the windows to the soul. Every now and then they let something out. Hopefully I can capture something in them.
To see some of the guys I've shot for the project, you can see them here: http://jamesweberstudio.com/blog/?p=1941
Many Thanks to my good friend, Jesse Mata, who is also a wet plater and has given me so much help and support with this process. He has also lent me his 11x14 camera to play with...should be even more fun. :)
Would you trust this guy?? haha...I took this self portrait...my "Yoda in the woods" shot on John Coffer's farm. This was where I learned to shoot Wet Plate. I wrote about that experience here: http://jamesweberstudio.com/blog/?p=1376

Thanks,
James


")
")
")


")